Ever stared at your microwave and wondered if you could actually bake in it, not just reheat leftovers? You’re not alone. Most beginners dismiss microwave baking as impossible or inferior, stuck heating up frozen meals while their oven takes 15 minutes just to preheat.
But here’s the truth: microwave baking can produce delicious cakes, brownies, muffins, and more in under 10 minutes, saving energy, time, and kitchen space. This guide will walk you through everything you need to know to start baking confidently in your microwave today, from understanding how it works to avoiding common mistakes that lead to rubbery disasters.
What Is Microwave Baking?
Microwave baking is a cooking method that uses electromagnetic waves to heat water molecules in batter or dough, causing rapid cooking from the inside out. Unlike conventional ovens that use radiant heat, microwaves excite moisture particles, creating steam that cooks baked goods in minutes rather than hours.

Why Microwave Baking Works:
Microwaves operate at approximately 2,450 MHz, penetrating food up to 1-2 inches deep. This creates:
- Faster cooking times (5 – 10 minutes vs. 25 – 45 minutes)
- Lower energy consumption (microwave uses ~1,200W vs. oven’s 2,400-5,000W)
- Minimal preheating (ready instantly)
- Cooler kitchens (no ambient heat from ovens)
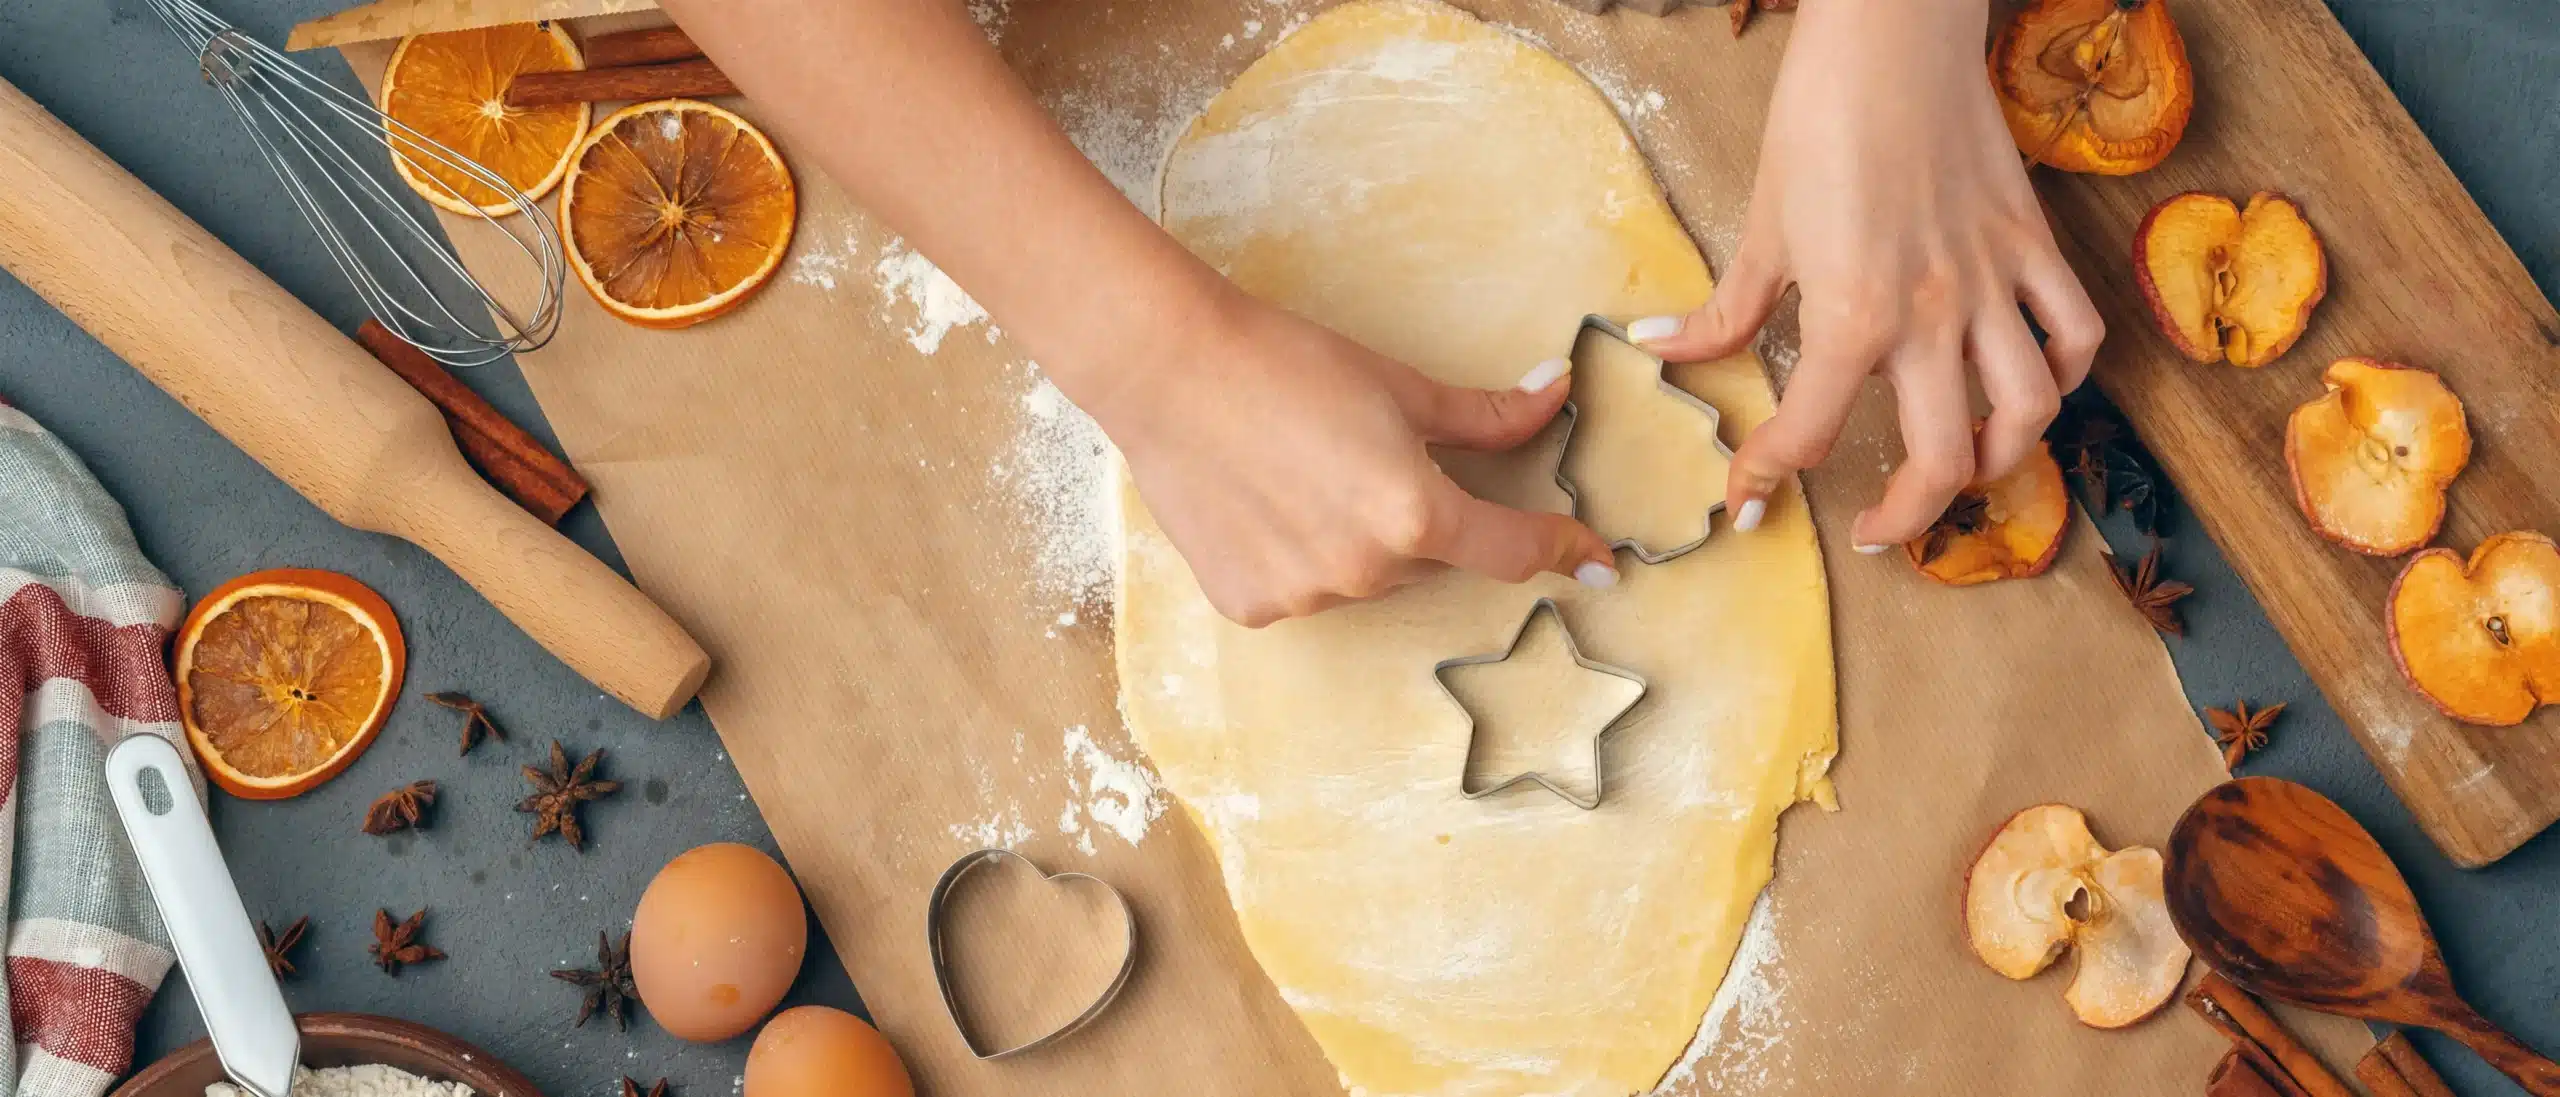
6 Essential Tools for Microwave Baking
Before you start your microwave baking journey, having the right equipment makes all the difference. While you don’t need specialized gadgets, understanding which essential cake baking tools work best in a microwave environment will set you up for success.
| Tool | Purpose | Recommended Type |
| Microwave-safe containers | Baking vessel | Glass, ceramic, or silicone (avoid metal) |
| Measuring cups/spoons | Accurate proportions | Standard liquid and dry measures |
| Mixing bowl | Combining ingredients | Medium-sized glass or plastic |
| Toothpick/skewer | Testing doneness | Wooden or bamboo |
| Oven mitts | Safe handling | Heat-resistant silicone |
| Turntable (if not built-in) | Even cooking | Rotating microwave plate |
What NOT to Use:
- Metal pans or aluminium foil (causes sparking)
- Non-microwave-safe plastics (can melt or leach chemicals)
- Sealed containers (pressure buildup can explode)
How to Bake in a Microwave: Step-by-Step Process

Step 1: Choose the Right Recipe
Start with microwave-specific recipes; conventional oven recipes won’t translate directly. Look for:
- Mug cakes
- Microwave brownies
- Simple sponge cakes
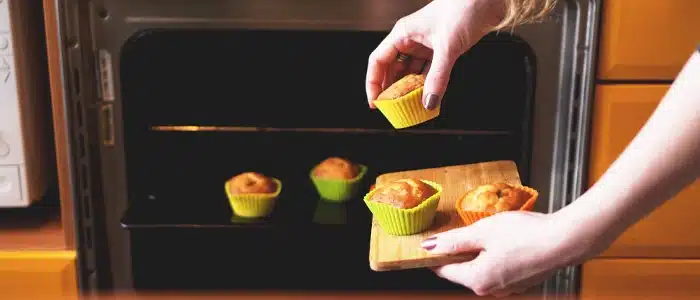
- Muffins in silicone molds
Step 2: Prepare Your Container
- Grease with butter or oil (or use parchment paper)
- Fill only halfway (batter rises significantly)
- Use microwave-safe materials only
Step 3: Mix Ingredients Properly
- Combine dry ingredients first (flour, sugar, leavening agents)
- Mix wet ingredients separately (eggs, milk, oil)
- Fold together gently, avoid overmixing (causes tough texture)
Step 4: Set Power and Time Correctly
- Start at 70-80% power (not full power, prevents rubbery edges)
- Begin with short intervals: 1- 2 minutes, then check
- Add time in 30-second increments until done
Step 5: Test for Doneness
Insert a toothpick into the center:
- Comes out clean or with few crumbs? Done
- Wet batter? Add 20-30 more seconds
Step 6: Cool and Serve
- Let rest for 1-2 minutes in the microwave (carryover cooking continues)
- Remove carefully (container will be hot)
- Cool on a wire rack or plate
Microwave Baking Power Guide
| Recipe Type | Power Level | Approximate Time |
| Mug cake | 70-80% | 60-90 seconds |
| Brownies (8″ pan) | 70% | 5-7 minutes |
| Sponge cake | 80% | 6-9 minutes |
| Muffins (individual) | 70% | 2-3 minutes |
| Cookies (4-6 pieces) | 60-70% | 2-4 minutes |
Note: Times vary by microwave wattage (typical range: 700-1,200W). Start low and adjust.
Common Mistakes Beginners Make (And How to Avoid Them)
Mistake #1: Using Full Power
Problem: Creates rubbery, tough texture with hard edges and undercooked centers.
Solution: Always use 70-80% power for even cooking.
Mistake #2: Overfilling Containers
Problem: Batter overflows, creating a mess and uneven cooking.
Solution: Fill only 50% full, microwave baking expands more than oven baking.
Mistake #3: Overbaking
Problem: Results in dry, hard, or spongy texture.
Solution: Check 30 seconds early. Slightly underdone is better (carryover cooking finishes it).
Mistake #4: Using Metal or Wrong Materials
Problem: Sparking, fire hazards, or melted plastic.
Solution: Stick to glass, ceramic, or silicone labeled “microwave-safe.”
Mistake #5: Not Adjusting Recipes
Problem: Using conventional oven recipes leads to failures.
Solution: Follow microwave-specific recipes or reduce liquid by 10-15% and use lower power.
Mistake #6: Skipping the Standing Time
Problem: Uneven doneness, hot spots and cold spots.
Solution: Let baked goods rest 1-2 minutes inside the microwave after cooking.
Whether you’re just starting out or looking to improve your technique, being aware of these common cake-baking mistakes will save you time and frustration in the kitchen.
Top 5 Easy Microwave Baking Recipes for Beginners
1. Classic Chocolate Mug Cake
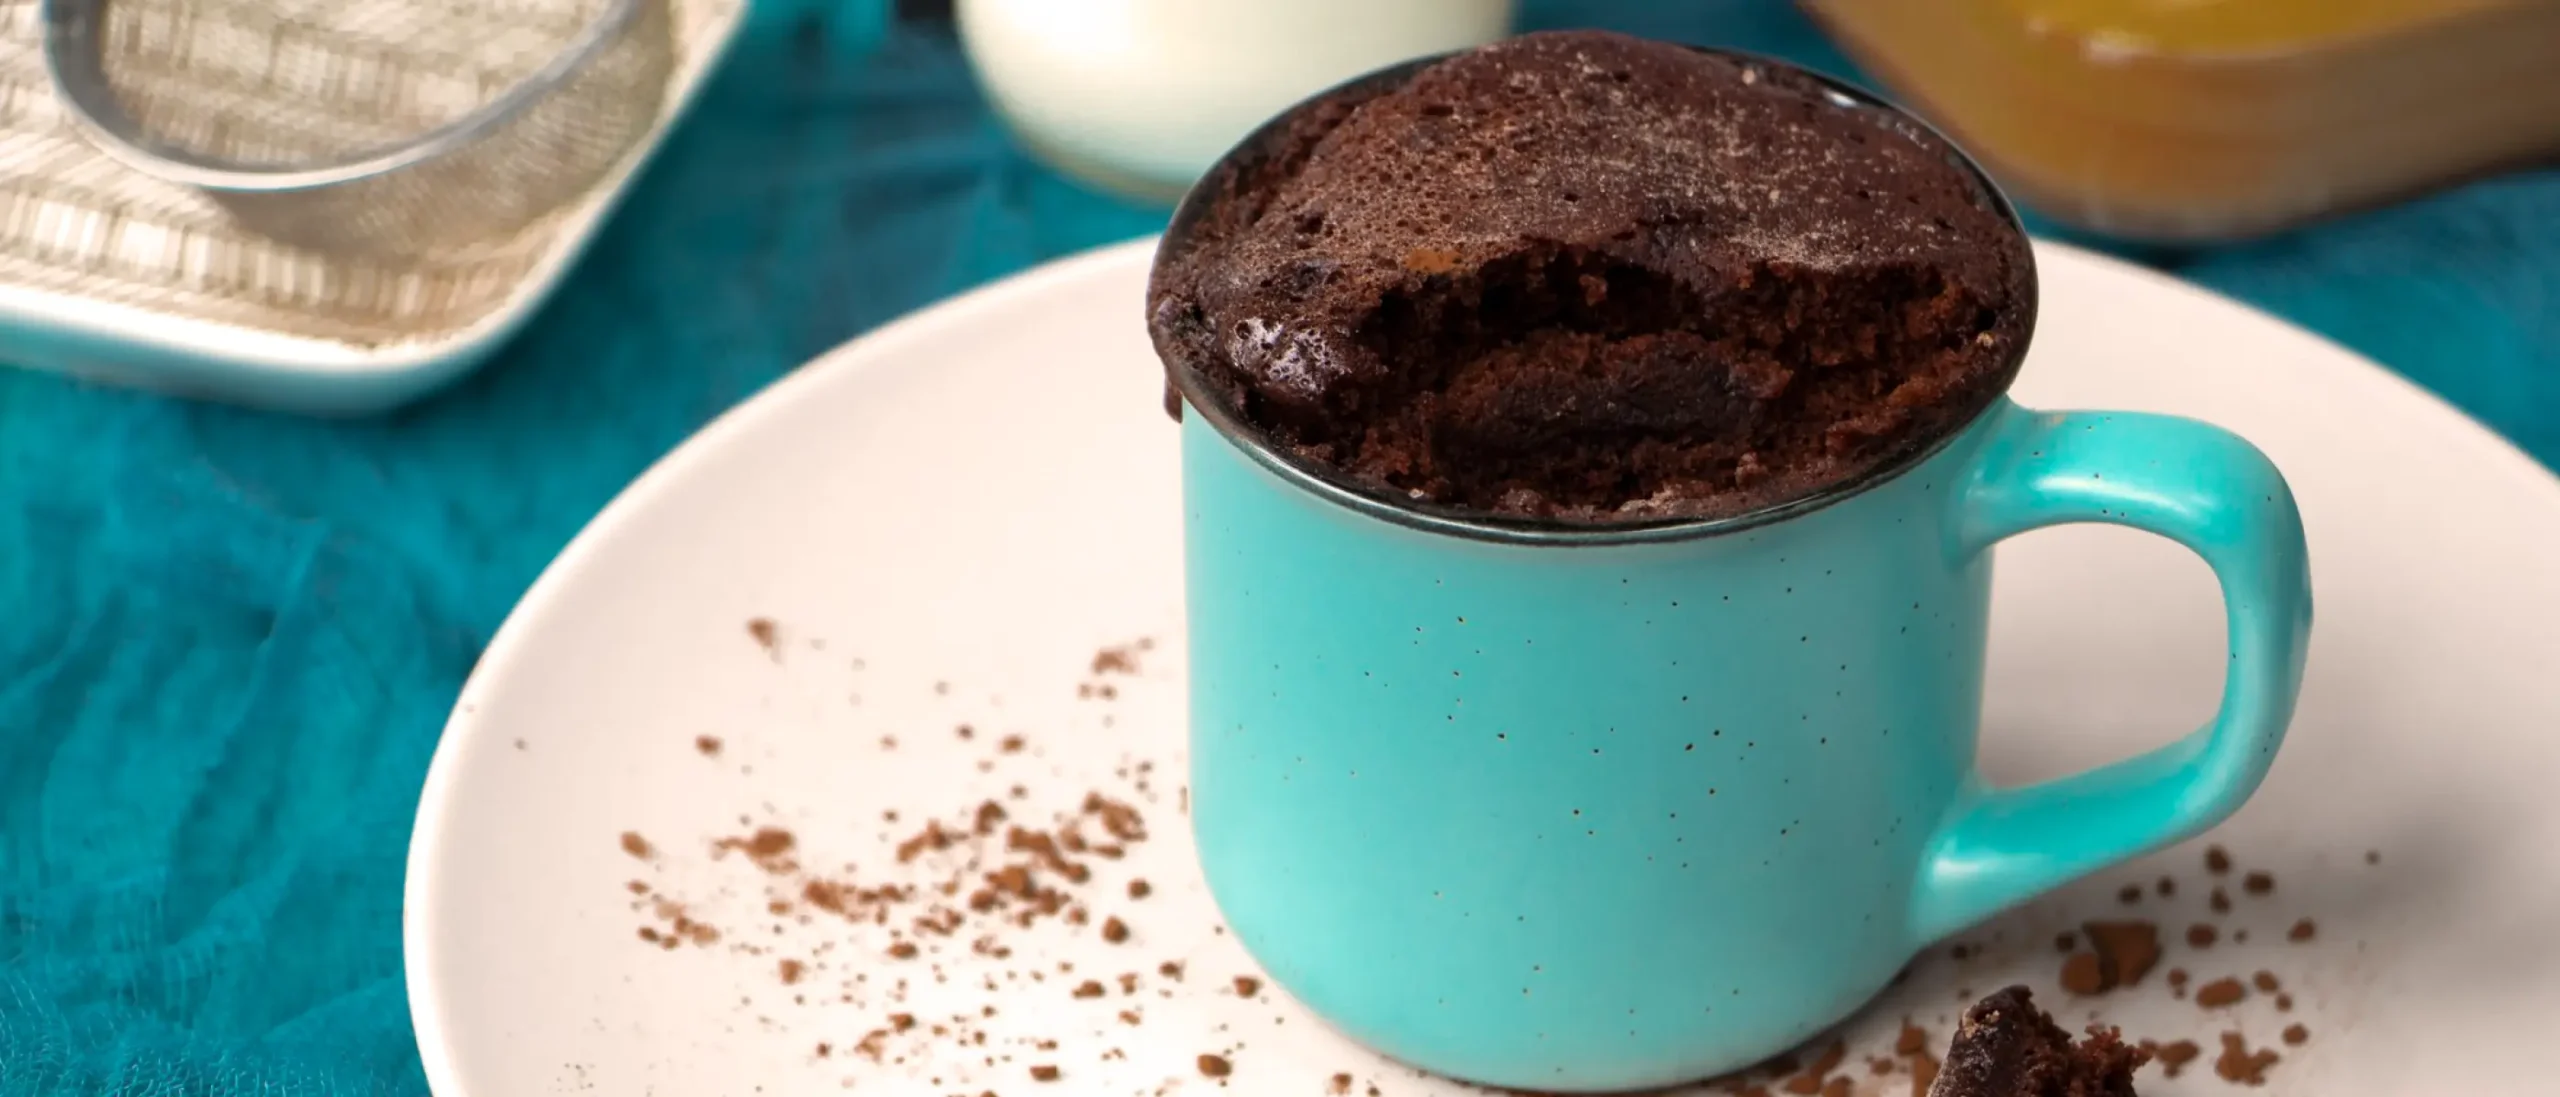
Time: 90 seconds | Servings: 1
Ingredients:
- 4 tbsp all-purpose flour
- 4 tbsp granulated sugar
- 2 tbsp unsweetened cocoa powder
- 1 egg
- 3 tbsp milk
- 3 tbsp vegetable oil
- Pinch of salt
- ¼ tsp vanilla extract (optional)
Instructions:
- Mix flour, sugar, cocoa powder, and salt in a large microwave-safe mug
- Add egg and whisk with a fork until smooth
- Stir in milk, oil, and vanilla until fully combined (no lumps)
- Microwave at 80% power for 60-90 seconds
- Check with a toothpick, if wet batter appears, add 15-20 seconds
- Let it stand for 1 minute before eating
Why it works: Single serving, foolproof, ready in under 2 minutes.
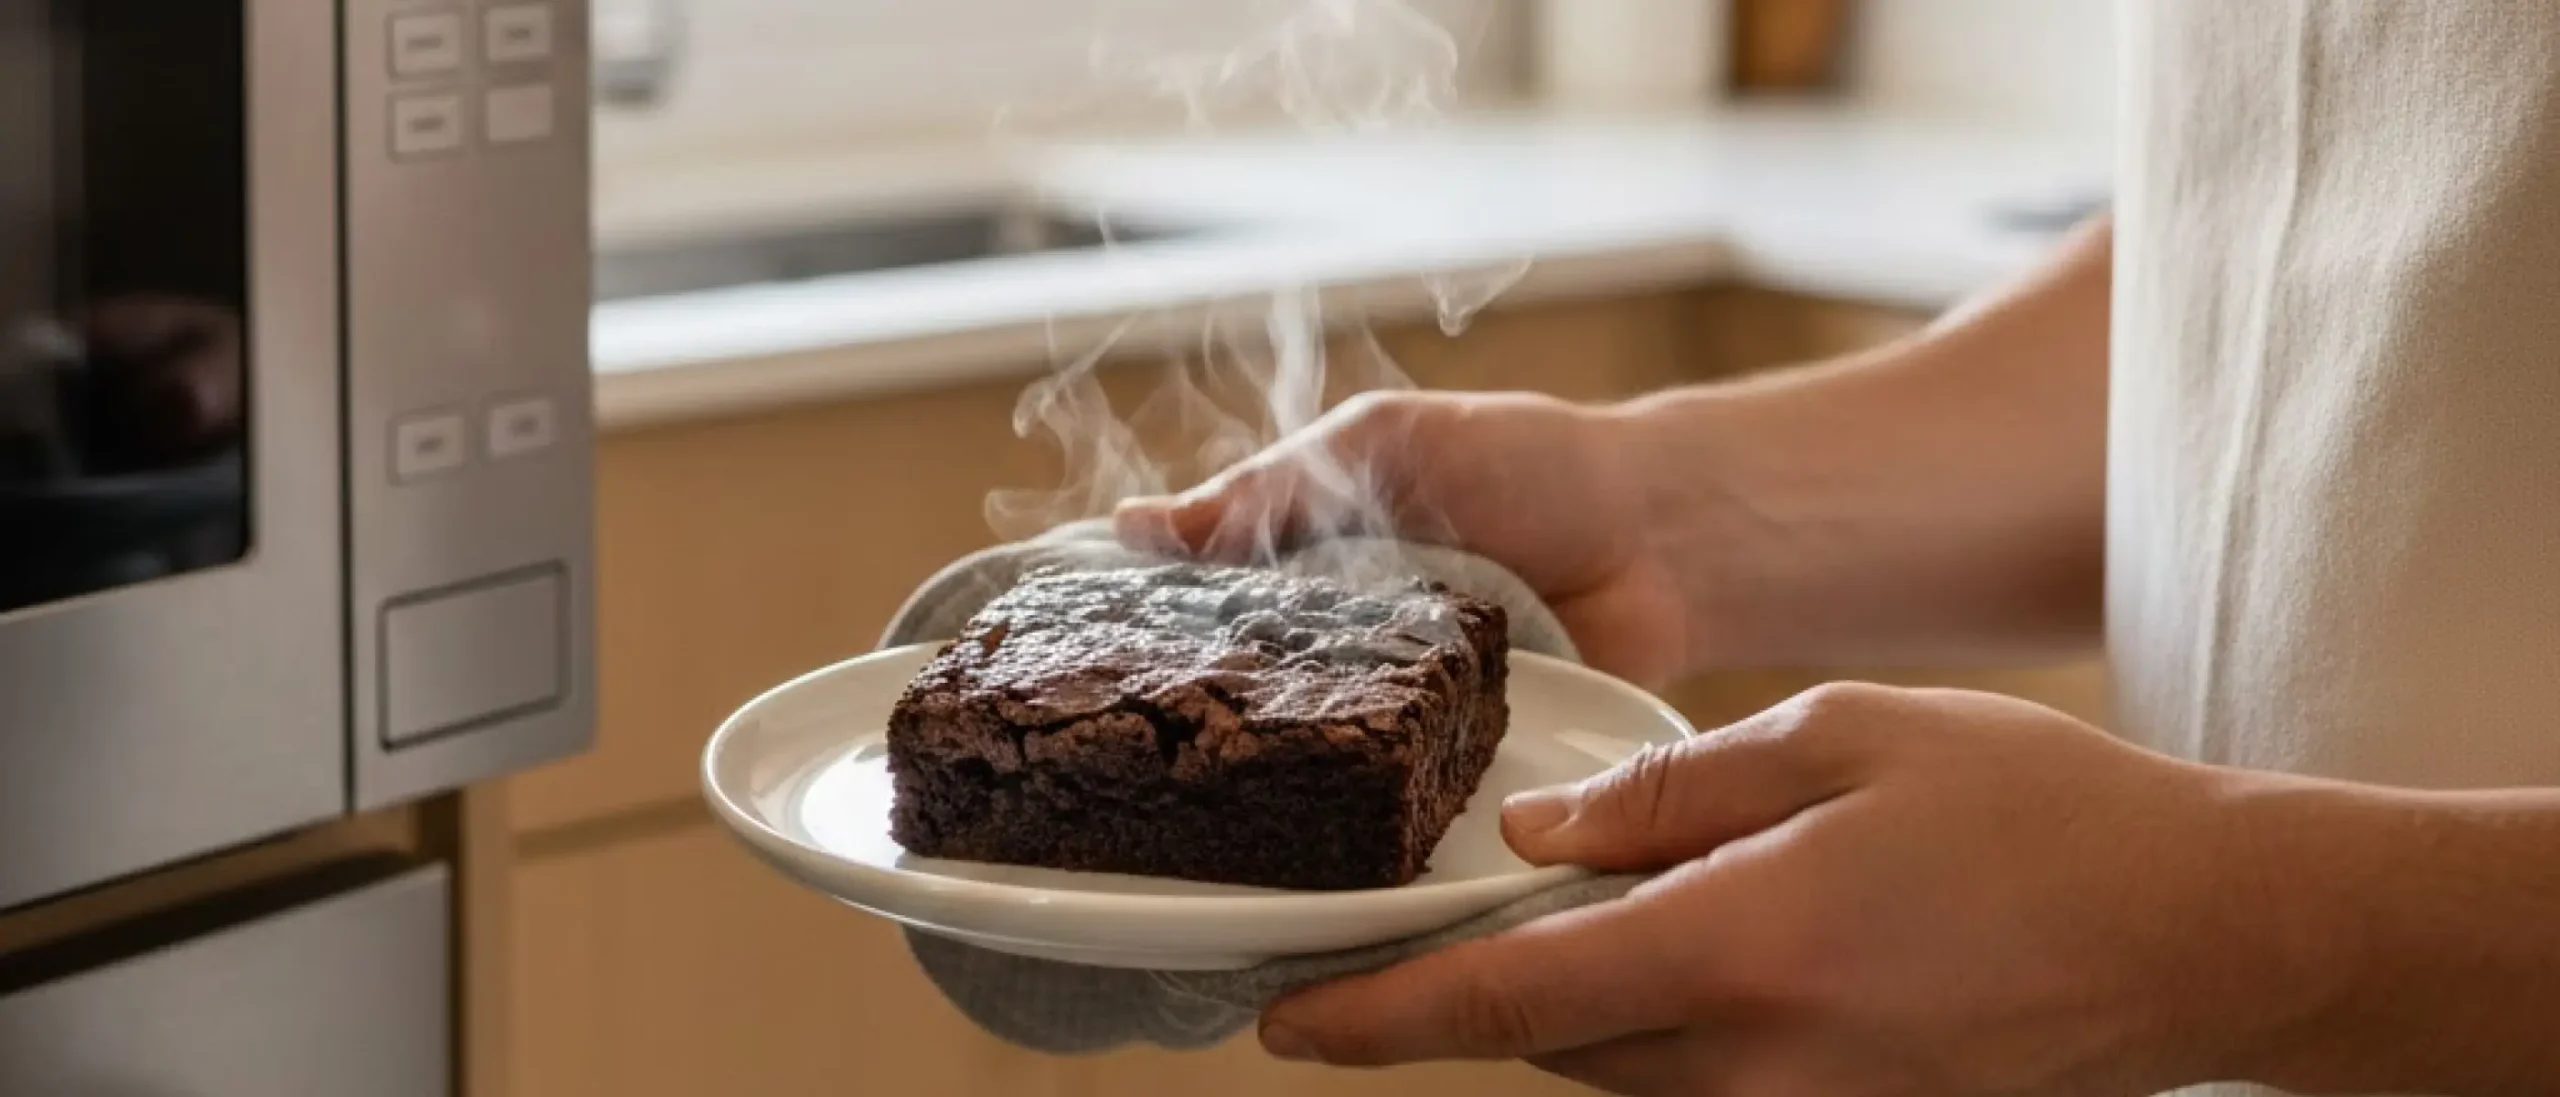
2. Microwave Brownies
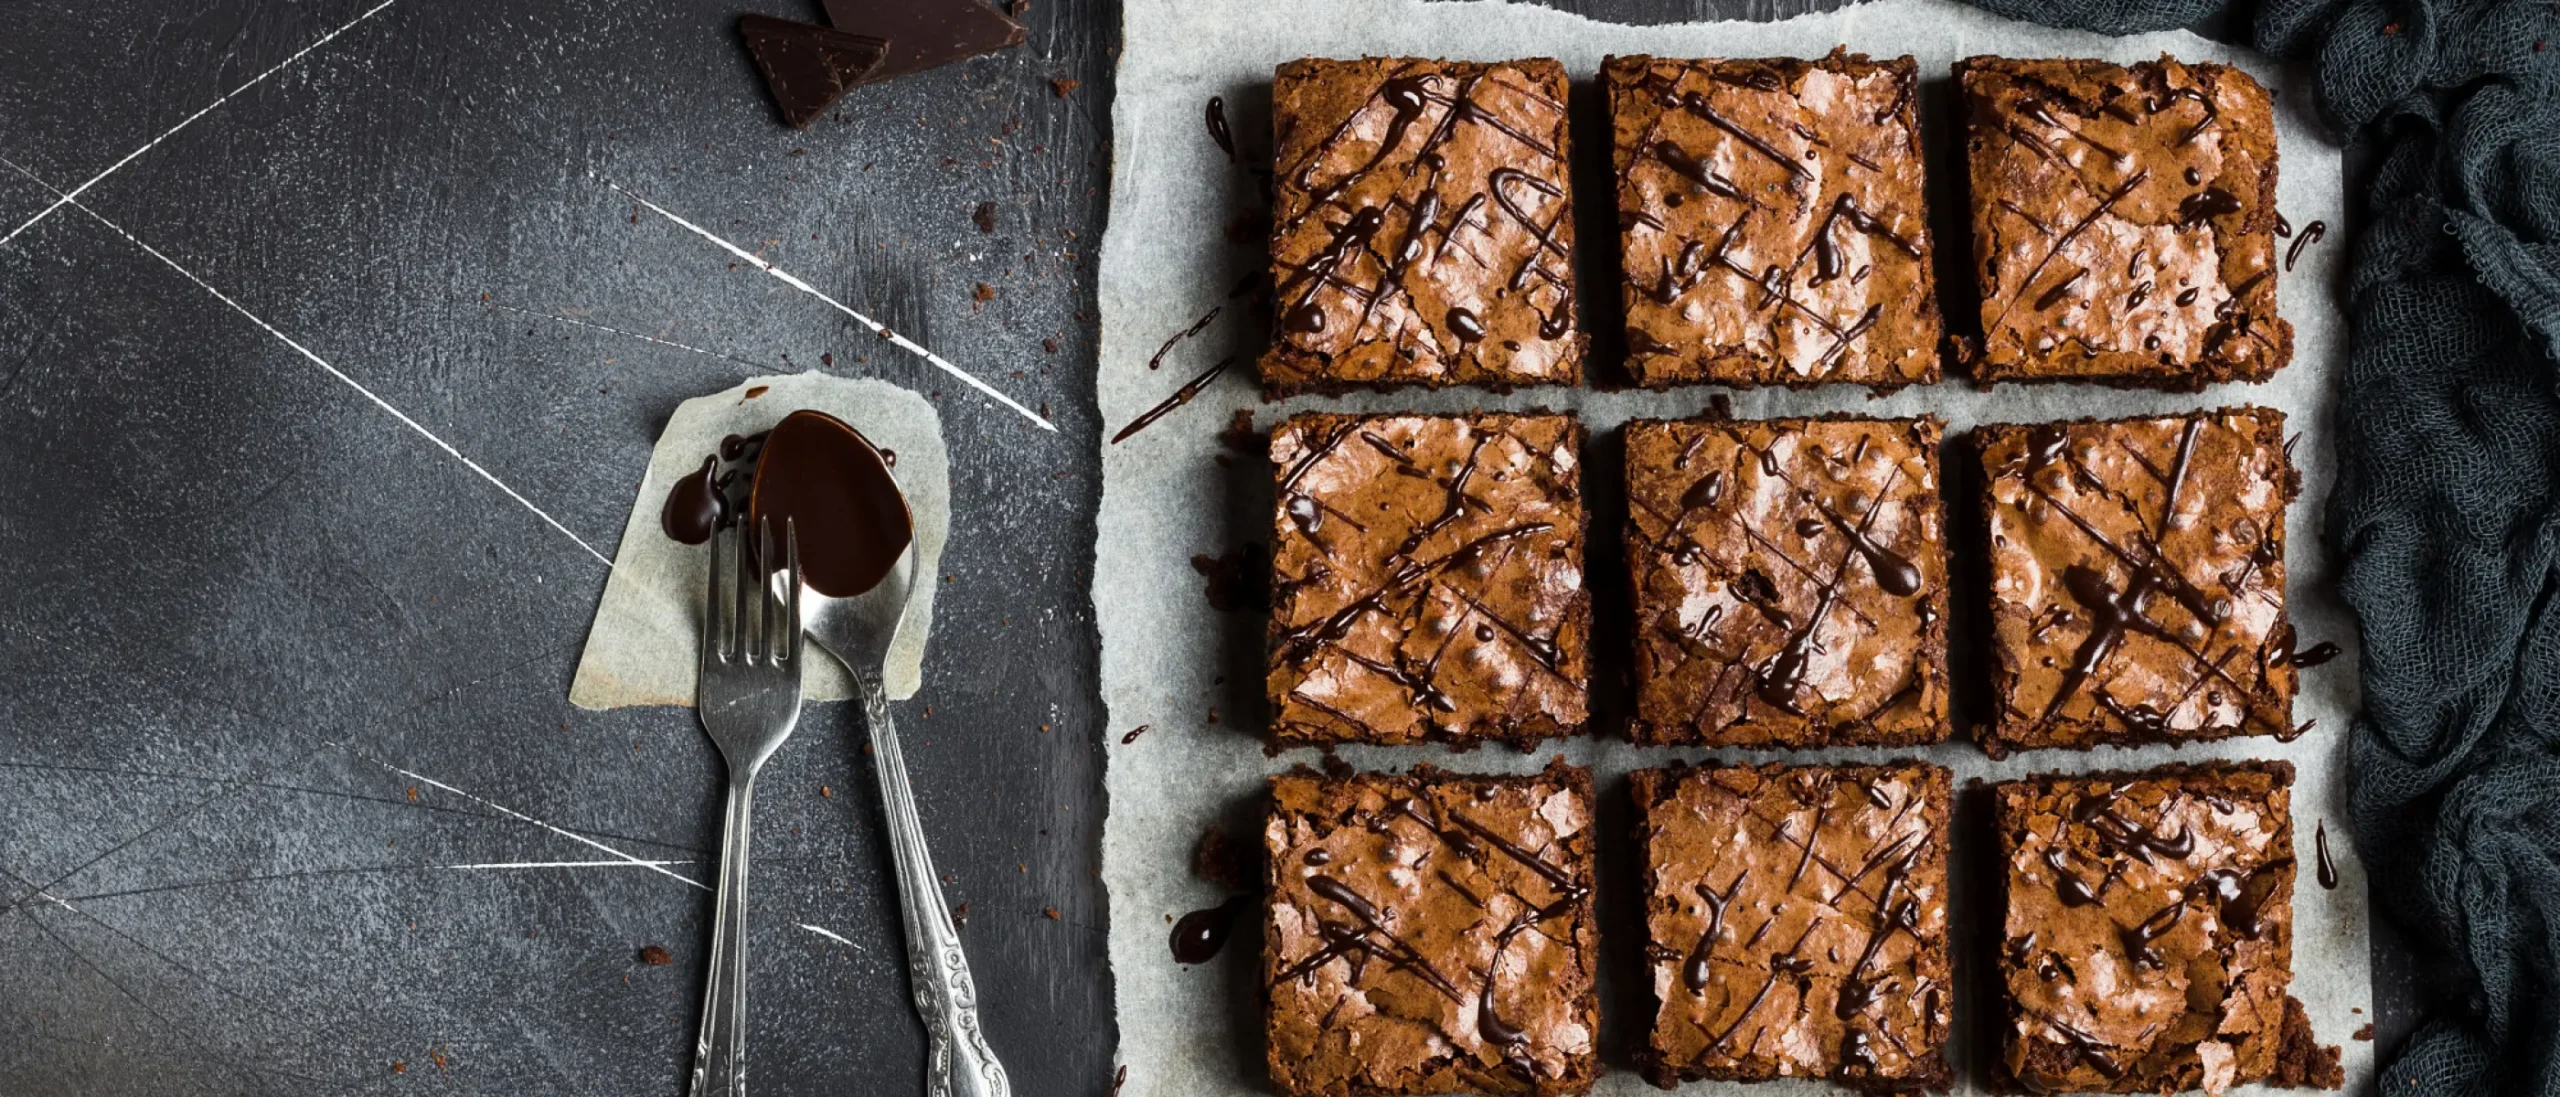
Time: 5-6 minutes | Servings: 4-6
Ingredients:
- ½ cup (115g) butter, melted
- 1 cup (200g) sugar
- 2 eggs
- 1 tsp vanilla extract
- ⅓ cup (40g) cocoa powder
- ½ cup (60g) all-purpose flour
- ¼ tsp salt
- ¼ tsp baking powder
Instructions:
- Grease an 8-inch microwave-safe square dish with butter
- Whisk melted butter and sugar in a bowl until combined
- Beat in eggs and vanilla
- Sift in cocoa powder, flour, salt, and baking powder; fold gently
- Pour batter into prepared dish (should be only half full)
- Microwave at 70% power for 5 minutes
- Check center with a toothpick, add 30-second intervals if needed
- Let cool for 5 minutes, then cut into squares
Why it works: Fudgy center, crispy edges, no oven needed.
3. Vanilla Sponge Cake
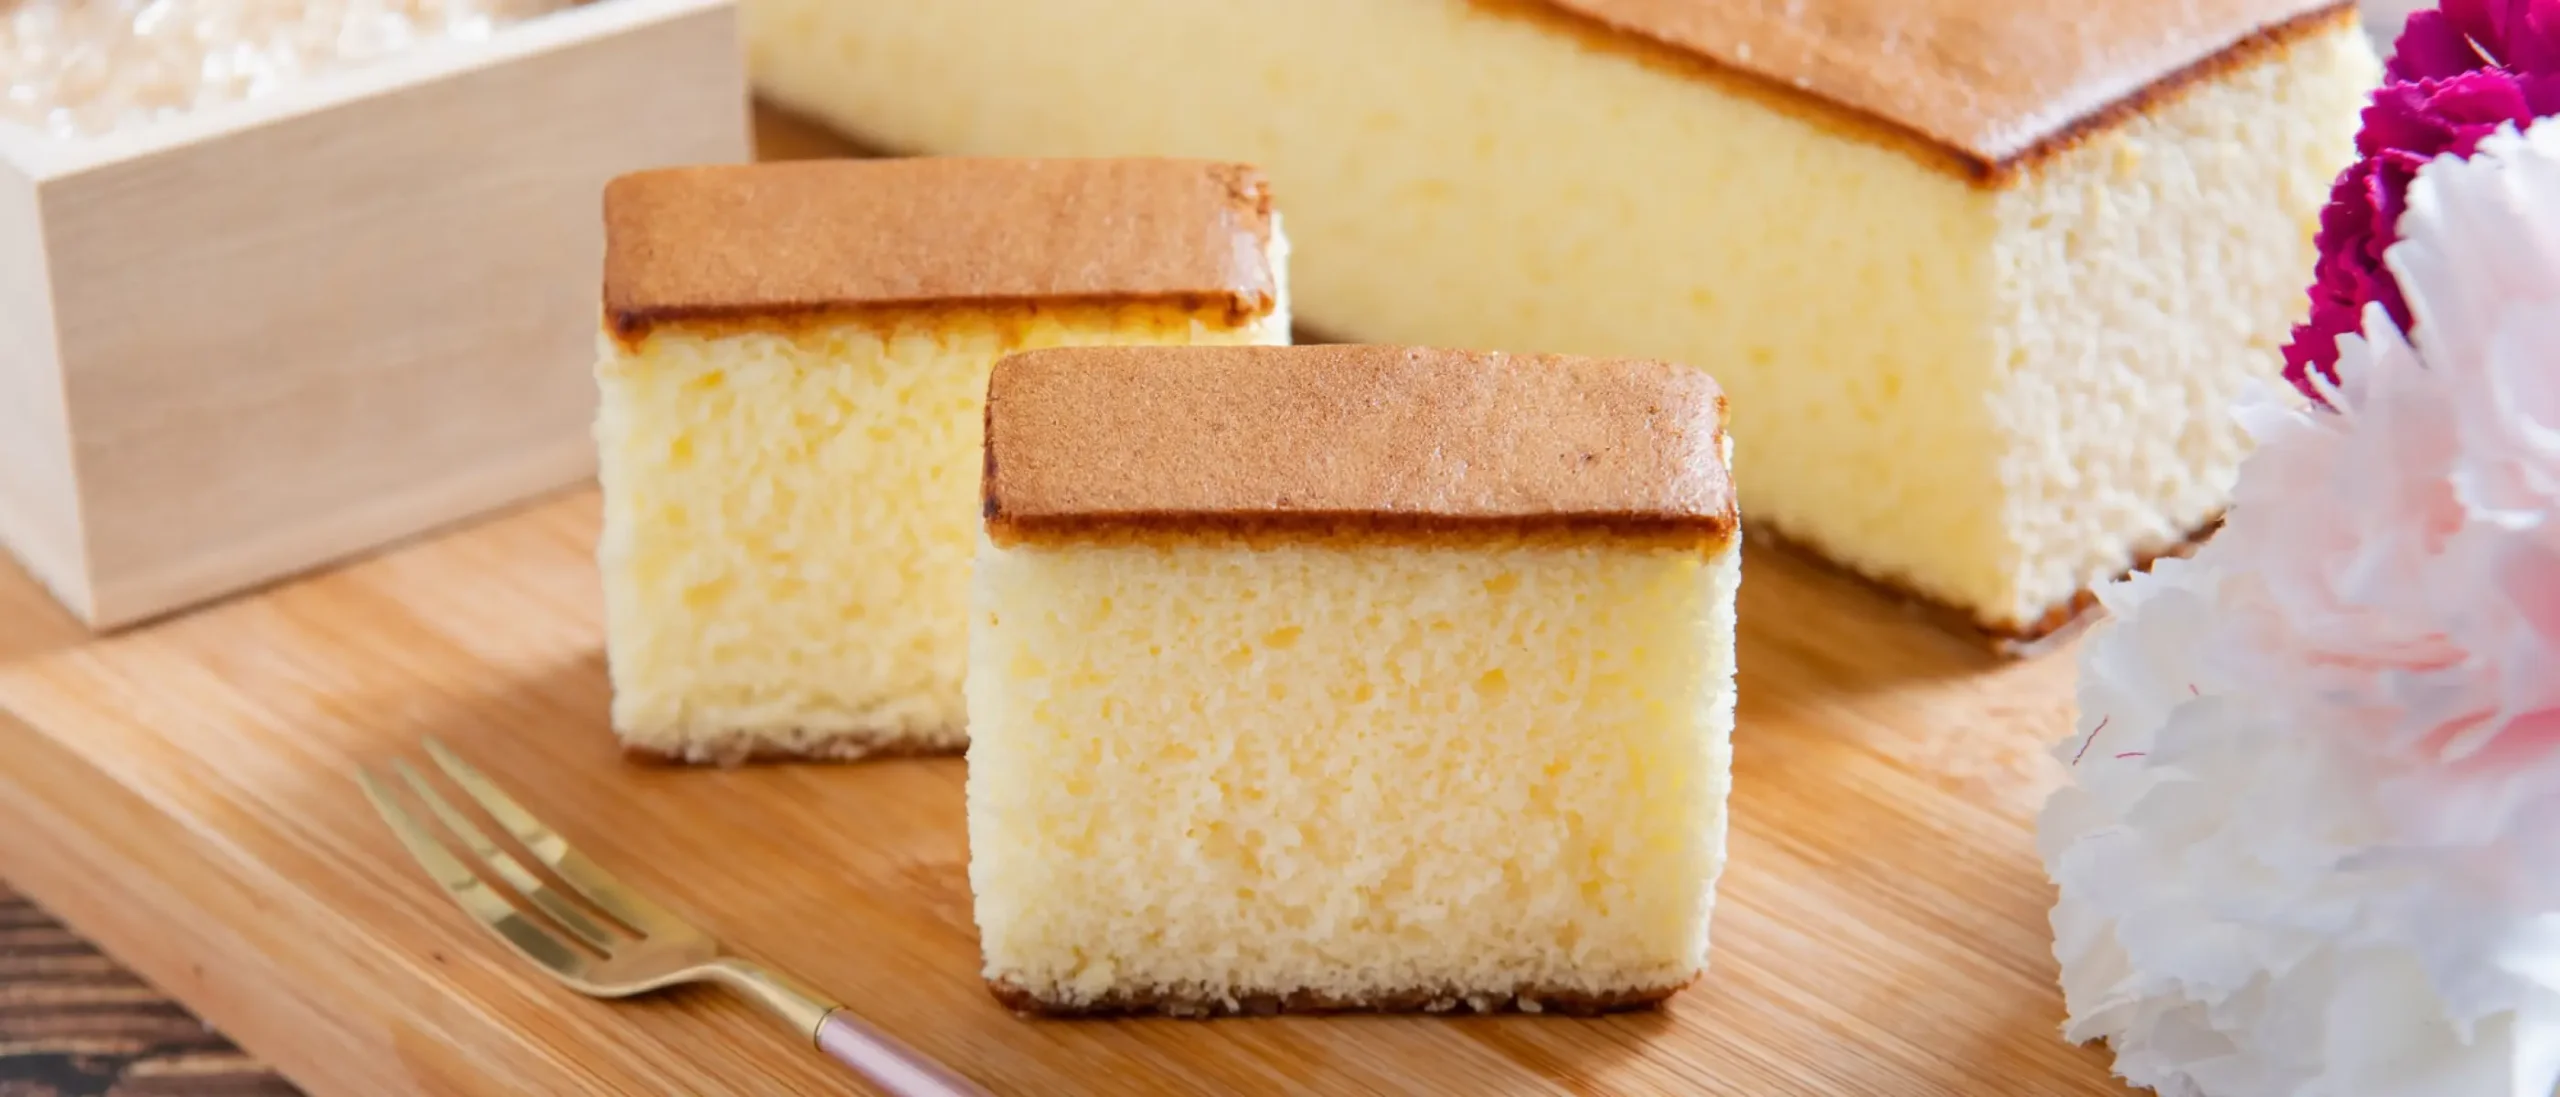
Time: 6-8 minutes | Servings: 6-8
Ingredients:
- ¾ cup (95g) all-purpose flour
- ½ cup (100g) sugar
- 2 eggs
- ¼ cup (60g) butter, melted
- ¼ cup (60ml) milk
- 1 tsp baking powder
- 1 tsp vanilla extract
- Pinch of salt
Instructions:
- Grease a 7-inch round microwave-safe dish and line it with parchment paper
- Whisk eggs and sugar together for 2 minutes until pale and fluffy
- Add melted butter, milk, and vanilla; mix well
- Sift in flour, baking powder, and salt; fold gently (don’t overmix)
- Pour batter into the prepared dish
- Microwave at 80% power for 6 minutes
- Test center with toothpick, cook additional 1-2 minutes if needed
- Cool in the dish for 3 minutes, then transfer to wire rack
Why it works: Light, fluffy, great base for toppings like frosting or fresh fruit.
4. Microwave Banana Bread
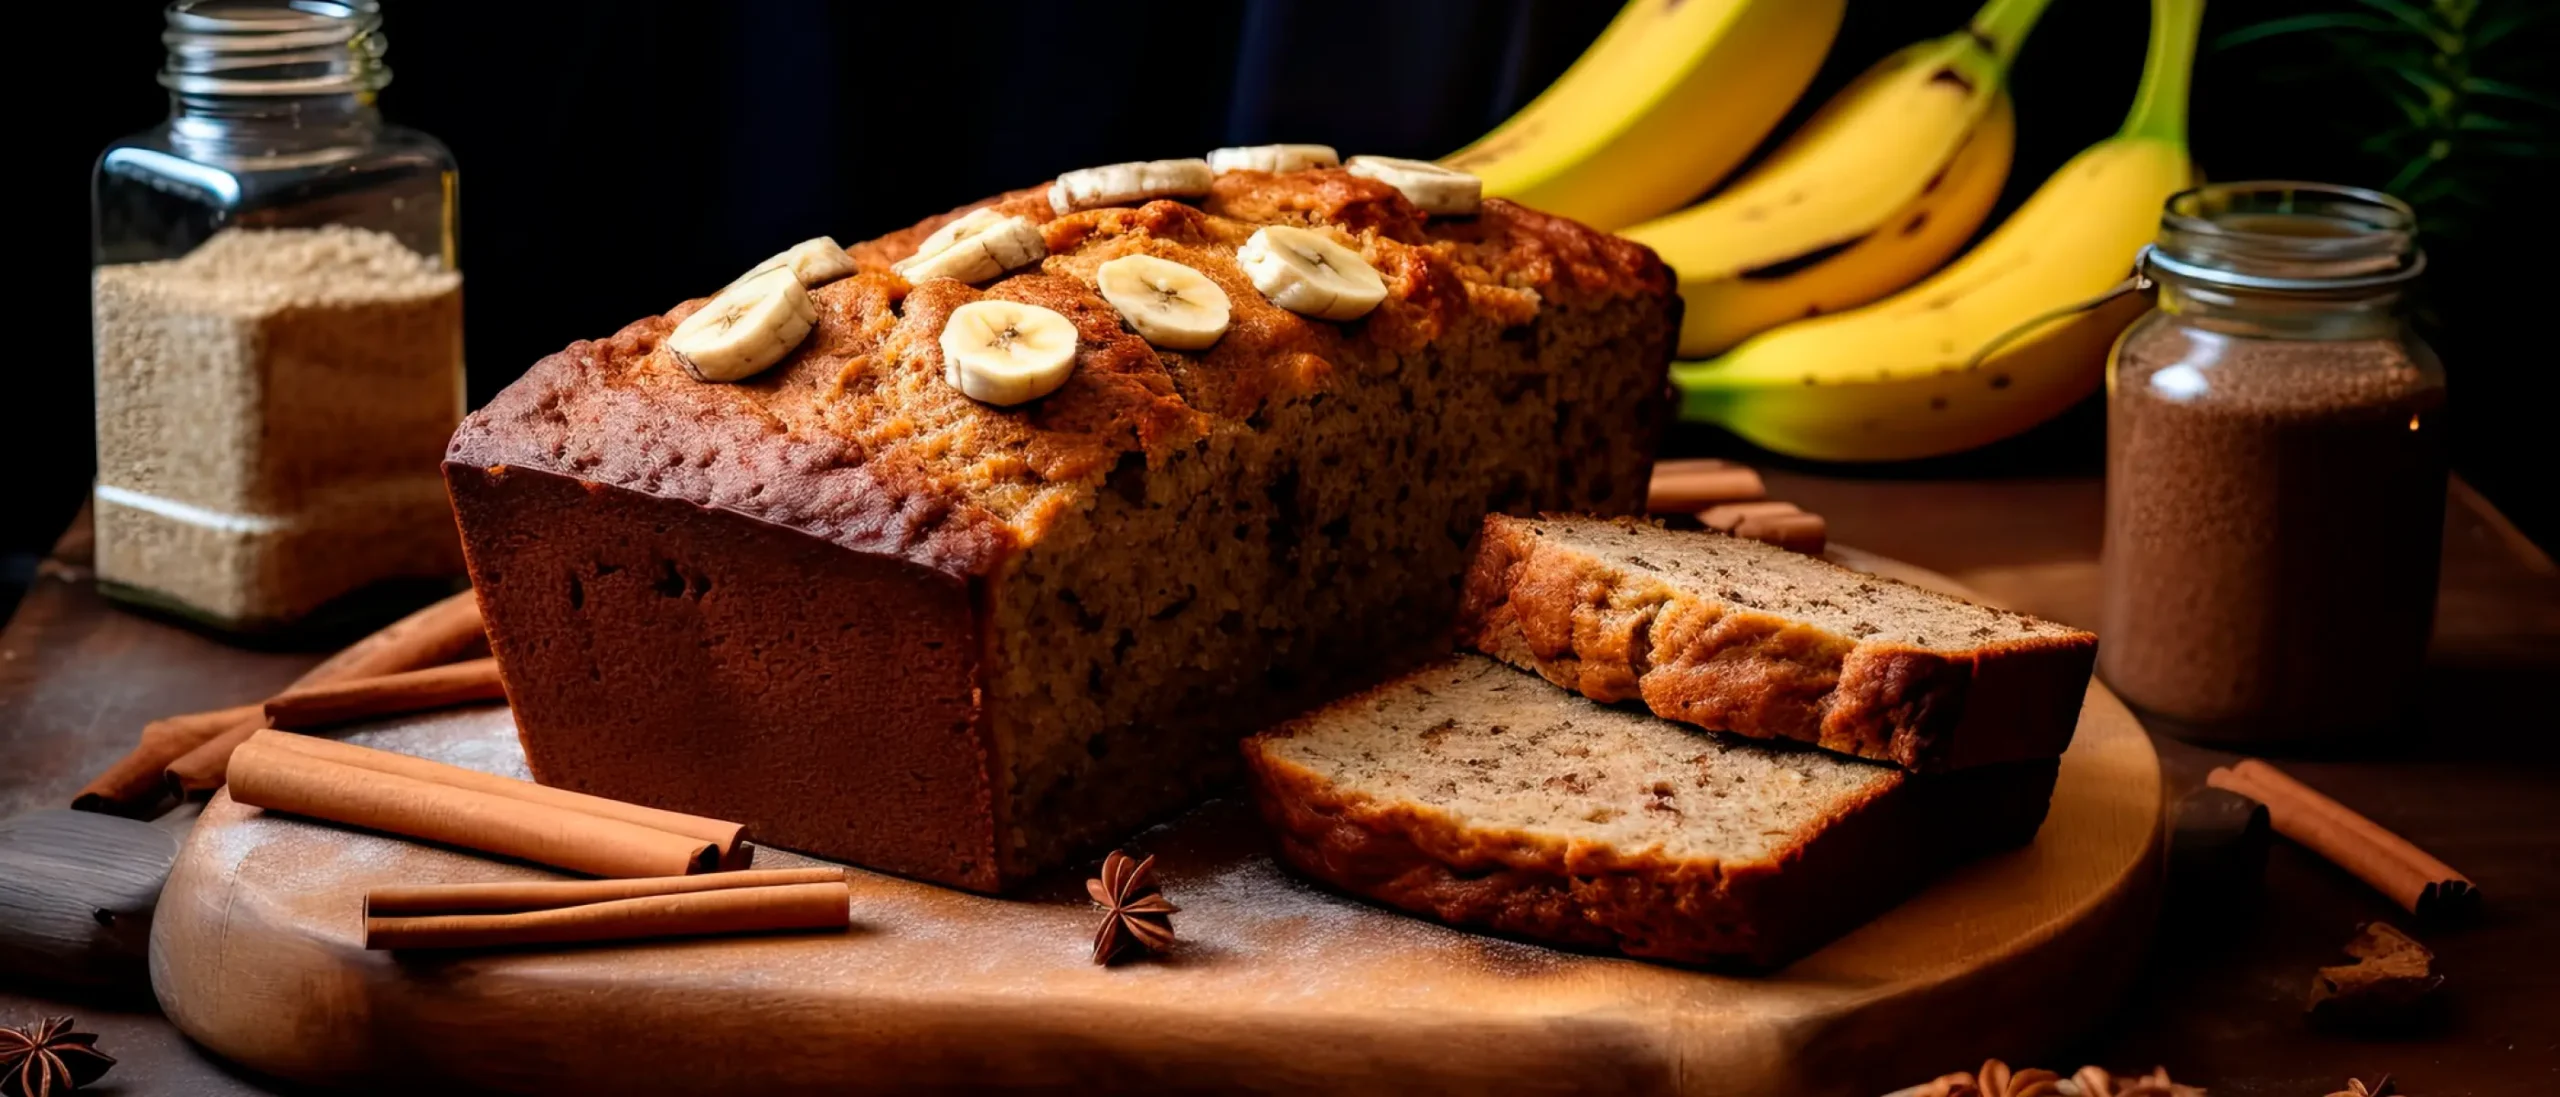
Time: 8-10 minutes | Servings: 6-8
Ingredients:
- 2 ripe bananas, mashed (about 1 cup)
- 1 egg
- ⅓ cup (70g) melted butter or oil
- ½ cup (100g) brown sugar
- 1 cup (125g) all-purpose flour
- 1 tsp baking soda
- ¼ tsp salt
- ½ tsp cinnamon (optional)
- ¼ cup chopped walnuts (optional)
Instructions:
- Grease a microwave-safe loaf dish (approximately 8×4 inches)
- Mash bananas in a large bowl
- Stir in egg, melted butter, and brown sugar until smooth
- Add flour, baking soda, salt, and cinnamon; mix until just combined
- Fold in walnuts if using
- Pour batter into prepared dish (fill only halfway)
- Microwave at 70% power for 8 minutes
- Check center with toothpick, add 1-2 minutes if needed
- Let stand for 5 minutes before removing from dish
Why it works: Uses overripe bananas, moist texture, quick breakfast option.
5. Lemon Mug Muffin
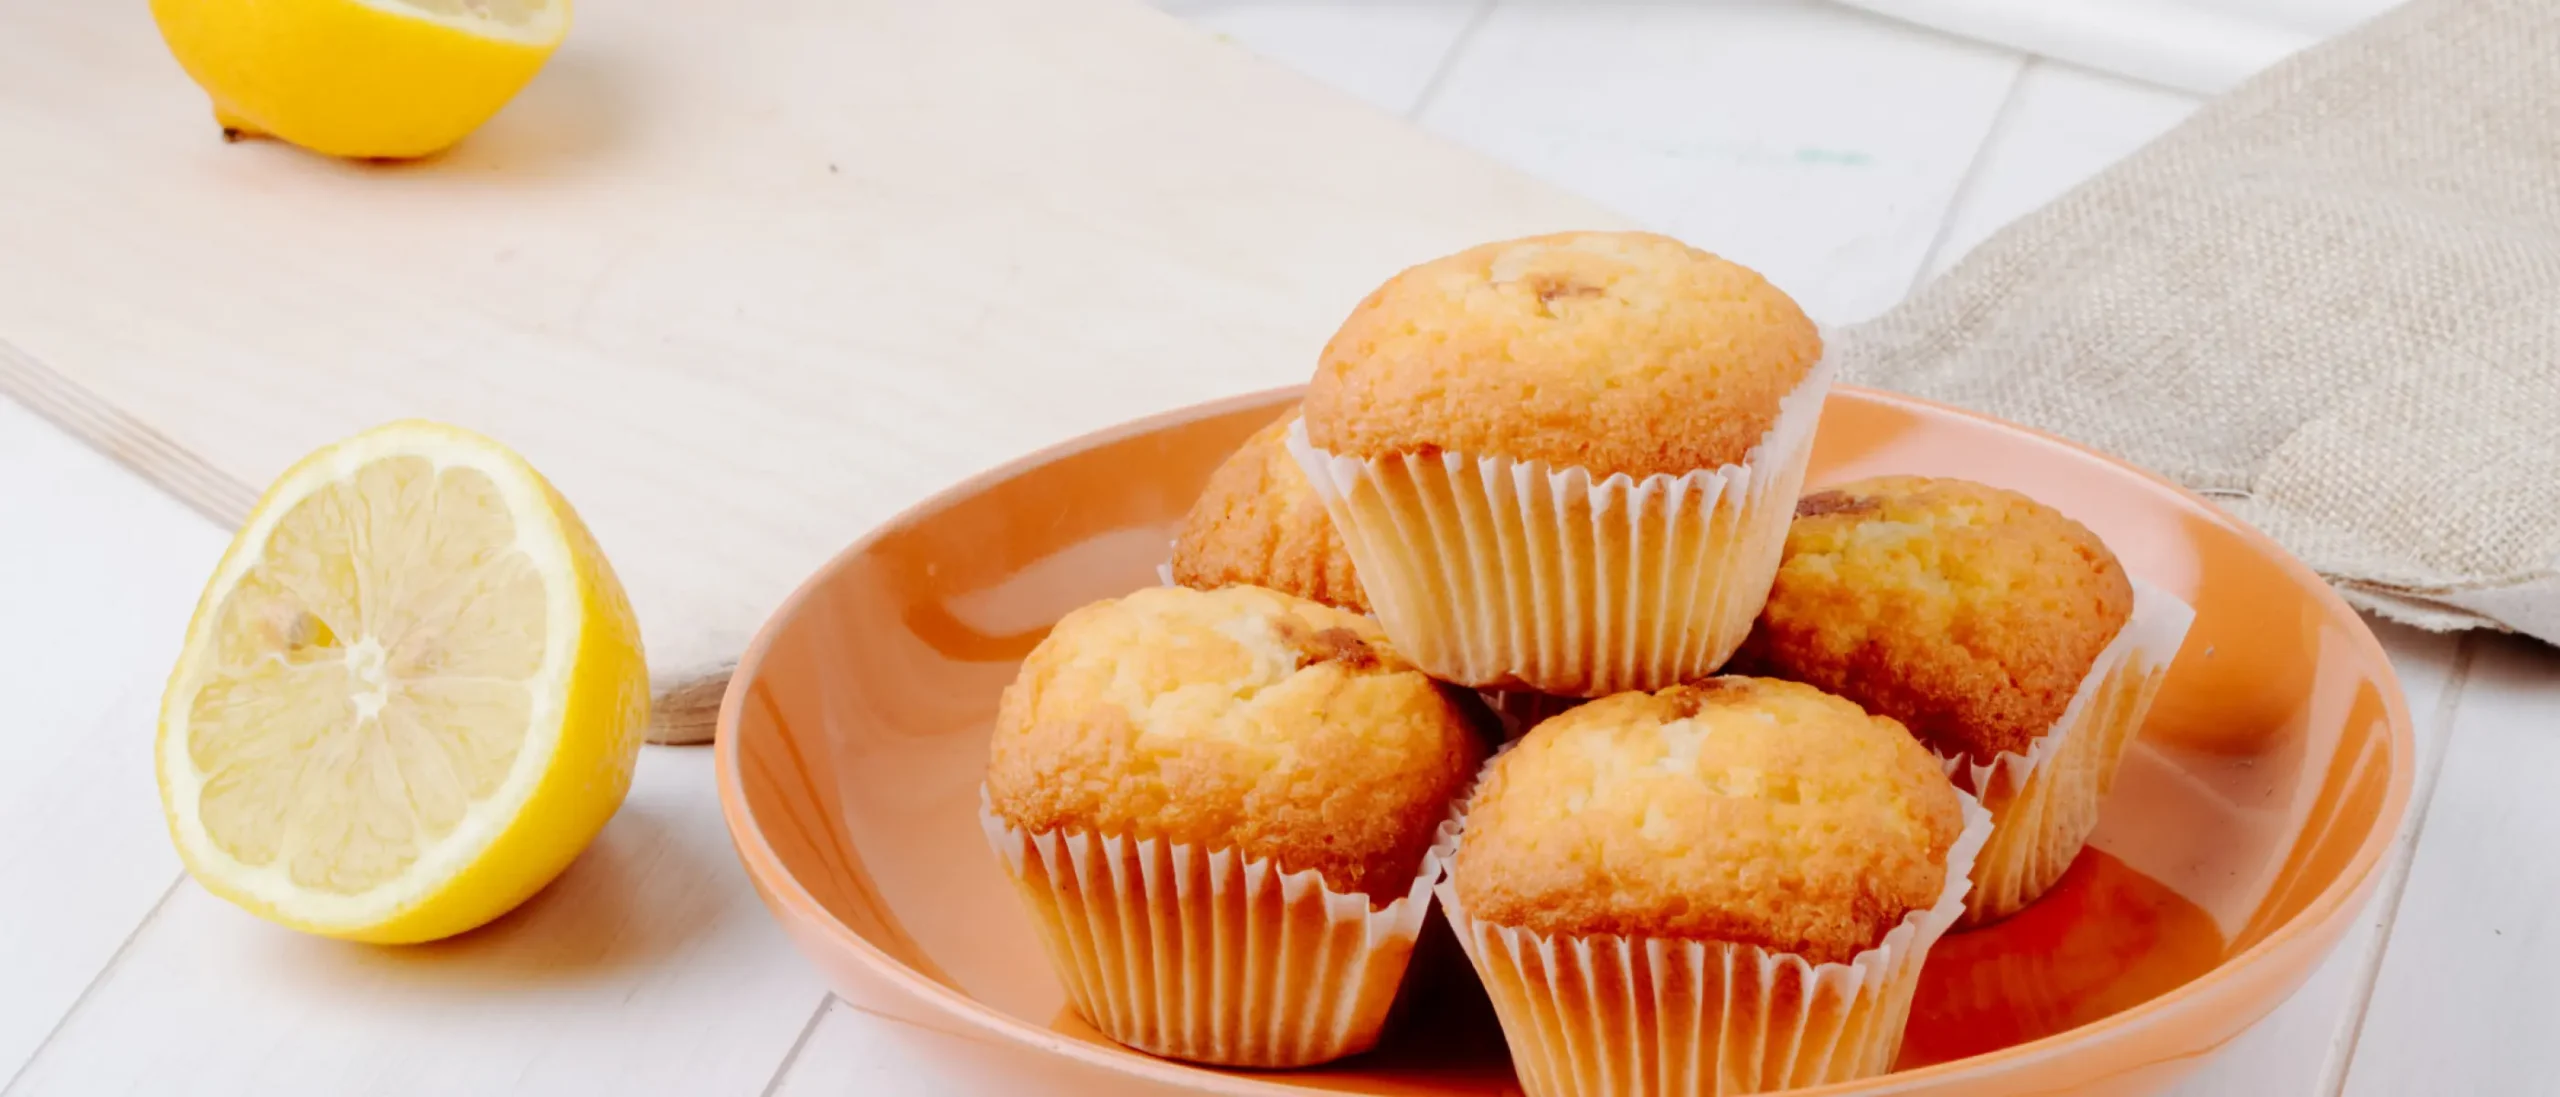
Time: 2 minutes | Servings: 1
Ingredients:
- 4 tbsp all-purpose flour
- 3 tbsp sugar
- 1 tbsp lemon zest (about 1 lemon)
- 1 egg
- 2 tbsp milk
- 2 tbsp vegetable oil
- ¼ tsp baking powder
- 1 tbsp lemon juice
- Pinch of salt
Instructions:
- Combine flour, sugar, baking powder, lemon zest, and salt in a large mug
- In a small bowl, whisk egg, milk, oil, and lemon juice
- Pour wet ingredients into mug and stir until smooth
- Microwave at 70% power for 1 minute 30 seconds
- Check doneness with toothpick, add 15-30 seconds if needed
- Let cool for 1 minute
- Optional: drizzle with lemon glaze (powdered sugar + lemon juice)
Why it works: Bright flavor, portion-controlled, fresh citrus kick perfect for breakfast or snack.
Pro Tip for All Recipes: Always start checking for doneness 30 seconds before the recommended time ends, as microwave wattages vary. Slightly underdone is better than overbaked!
Why Doesn’t My Microwave Cake Brown?
Microwaves don’t produce the dry, radiant heat needed for the Maillard reaction, the chemical process that creates browning and crispy crusts.
Solutions:
- Add cocoa powder or brown sugar for color
- Brush with butter and broil for 1-2 minutes (if safe)
- Use a microwave crisper pan
- Accept the pale appearance, focus on taste and texture instead
Want to take your microwave baking to the next level? These proven baking hacks will help you achieve professional-quality results every time.
How Do I Convert Oven Recipes to Microwave?
While not all recipes convert well, here’s a basic framework:
Conversion Steps:
- Reduce cooking time: Start with 25-30% of original oven time
- Lower power: Use 70-80% instead of 100%
- Reduce liquid: Cut by 10-15% (microwaves retain more moisture)
- Adjust leavening: Reduce baking powder/soda by ¼
- Test frequently: Check every 60-90 seconds
Microwave baking opens up a world of quick, energy-efficient, and beginner-friendly dessert possibilities that don’t require fancy equipment or hours of your time. While it won’t completely replace traditional oven baking, it’s perfect for single servings, late-night cravings, small kitchens, and anyone wanting to experiment without major commitment.
If you are a complete novice in baking, consider joining a professional cake-baking course like Whitecaps International School of Pastry to advance your baking skills. These types of professional courses will help you better understand microwave baking.
Ready to explore more baking techniques and culinary innovations? Visit Whitecaps International School of Pastry for comprehensive baking resources. Allow your imagination to run wild with these recipes, and do not hesitate to contact us if you need assistance.
Frequently Asked Questions:
1. Can I bake a full-size cake in the microwave?
Yes, but results vary. Use a microwave-safe pan, reduce power to 70%, and expect cooking times of 10-15 minutes. The texture will be softer and spongier than oven-baked cakes, with minimal browning.
2. Is microwave baking healthy?
Microwave baking itself doesn’t reduce nutritional value; the ingredients determine healthfulness. If you’re interested in healthier baking alternatives, you might explore our eggless baking techniques, which can accommodate various dietary preferences.
3. Why is my microwave cake hard after cooling?
This happens due to moisture loss and starch retrogradation. To prevent: don’t overbake, cover while warm, store in airtight containers, and reheat for 10-15 seconds before serving.
4. What wattage is best for microwave baking?
Most recipes are designed for 1,000W microwaves. If yours is lower (700-800W), add 30-50% more time. If higher (1,200W+), reduce time by 10-20%.
5. Why does my recipe say to let it “stand” after cooking?
Standing time allows carryover cooking to finish the baking process and helps distribute heat evenly throughout, eliminating hot and cold spots.