“Jingle bells, jingle bells, jingles all the way ;
Christmas is knocking your doors
So what’s your plan for the day?”
Our most-awaited season of the year is arriving–The Winter. Like other festivals, Christmas also marks the joy of bonding and creativity.
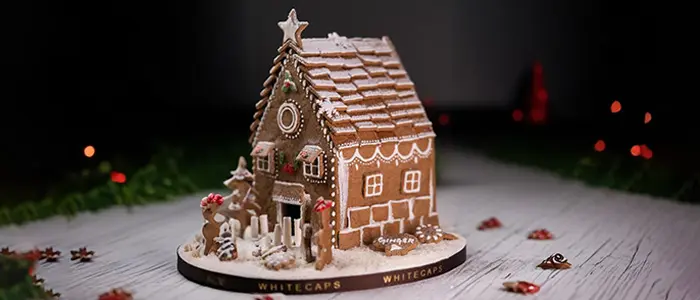
And the best way to enjoy this joy is Christmas treats. Every Christmas Eve, you must have made a lot of beautiful cakes and yummy cookies. But let’s bake something different this year. How about some delectable gingerbread houses?
Now we know what you are thinking.
Yeah! Whatever! Ginger cookies or chocolate Christmas cakes are much more hassle-free than this!
But believe us, if you follow our perfect gingerbread house recipe to the end, you’ll end up with something you never expected!! The whole journey—from preparing the gingerbread dough to fixing the stunning windows of your Christmas gingerbread house with icing—is nerve-wracking yet the jolliest experience for you in the basket this Eve.
Gingerbread houses do take some of our precious time to make. But hey? Don’t you think this may be your chance to create some special memories with your family?
Alright! Enough of the intro on gingerbread houses. Now let’s jump into the bumpy roads together and create some ginger magic!
Let’s Gather All Your Gingerbread House Ingredients!
Once upon a time, there was a baking wizard who said–“What brings together an enchanting bake is not the chef; it is their relentless pursuit for creativity and the finest ingredients they bring.”

So making a gingerbread house is as much about the top baking ingredients you choose as your skills. Here is a list of all the baking items you need:
For the Gingerbread Dough:
- 5 cups of all-purpose flour. Take some extra for rolling out your dough.
- 2 teaspoons of ground ginger
- 1 teaspoon of ground cinnamon
- 1 teaspoon of baking soda
- ½ teaspoon salt
- 1 cup of softened unsalted butter
- 1 cup of packed brown sugar
- 1 cup molasses
- 2 large eggs
- 1 teaspoon of vanilla extract
NOTE: If you are out of baking soda, don’t rush just yet to substitute with baking powder. First, understand the difference of baking soda and powder and substitute accordingly.
For the Royal Icing (your feviquick!!):
- 4 cups of sifted Confectioners’ Sugar
- 3 large egg whites
- 1 spoon of lemon juice (or you can take cream of tartar for the sticky purpose).
Decorative Elements :
These are some optional decoratives you can add for fun.
- Assorted Candies like gumdrops, candy canes, peppermints, jelly beans, etc.
- Sprinkles cause festive colours work best!
- Mini Marshmallows will be perfect for snow or frosty effects
- Chocolate Pieces can add detail to roofs or create a stone path.
- Coconut Flakes for snow
One thing you should avoid as a common baking mistake is not following the exact recipe.
Make sure to gather all the types of sugar mentioned, and don’t try experimenting with mixing different types of flours just because you don’t have enough of normal flour.
Gingerbread House Recipe tools
You need these baking tools to bring your bake to life.
- Large bowls
- Sifter
- Dough cutter or bench scraper
- Parchment paper
- Rolling pin
- Plastic wrap or ziploc bags to store the dough
- Dough thickness guides
- Cardboard and glue
- Craft knife template/shape-cutting
- Sharp knife and cookie cutters
- Baking pans
- Cake board on which you build the gingerbread house.
- Piping bags
Homemade Gingerbread House: Step-by-Step Recipe
Your gingerbread house will stand from your gingerbread dough. So it needs to be sturdy, and you need to follow these steps to get the perfectly baked gingerbread house.

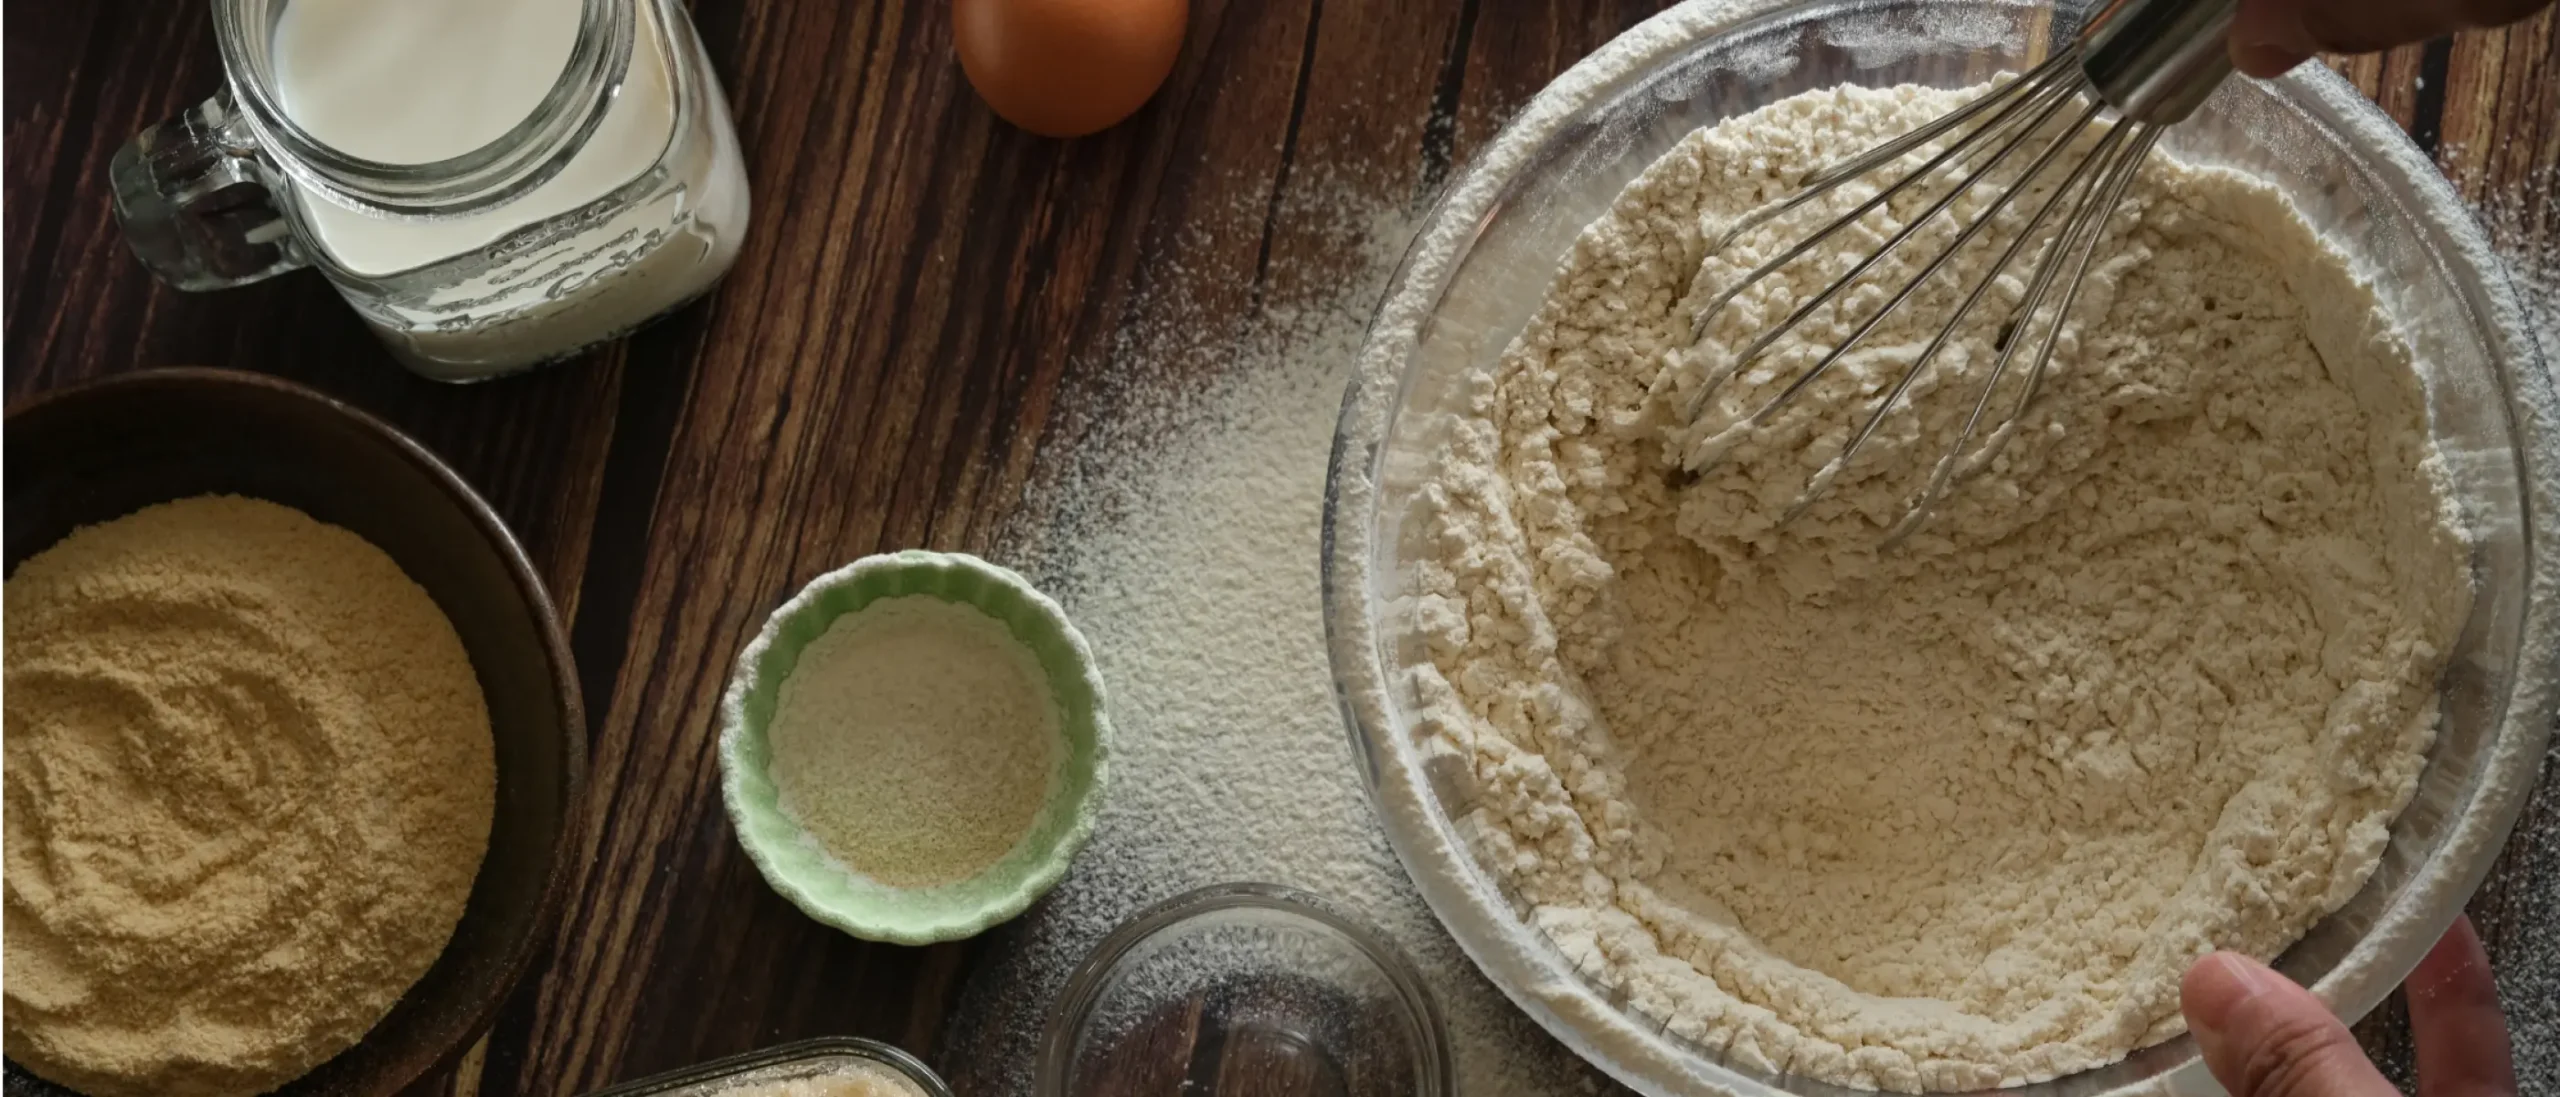
Step 1: Prepare the ingredients
Before you start, gather and measure all the ingredients. Butter must be kept at room temperature to let it become soft. This makes it ready to mix with other ingredients.
Step 2: Combining dry materials together
Take a large bowl and sift the flour, ground ginger, cinnamon, baking soda, and salt one after another in the bowl.
Sifting helps to prevent clumps. If you properly sift the spices and leavening agents, they will be evenly distributed in the flour and will create a consistent dough texture and flavour.
Step 3: Cream the Butter and Sugar
Cream the softened butter and brown sugar in a stand mixer (if you have it) or a separate large mixing bowl until it becomes light and fluffy (about 2-3 minutes).
Creaming lets air into the butter, making the dough smoother and easier to work with. Using room-temperature butter will make this process easier and give the dough a far better structure.
Step 4: Mix the Wet Ingredients separately and pour them
Take a separate bowl. Now add the eggs, molasses, and vanilla extract into your butter mix. Keep beating the mixture well until everything is combined.
Use molasses to give your gingerbread its signature rich colour and taste.
Try not to replace or forget the eggs cause they add structure and moisture to the wet mix.
Beat the whole wet mix at medium speed and sometimes stop in between to scrape down the sides and leave no crumbs!
Step 5: Mixing the dry and wet mix
If you are done preparing both the dry and wet mix, now slowly add the dry flour mixture to the wet ingredients bowl. Take 1 cup at a time and mix it with a slow speed so that the flour doesn’t spill.
Mix until the dough begins to come together. The dough will become tough if you overmix it. Your dough needs to be thick and pliable enough to hold everything together without too being sticky.
Step 6: Divide and Chill the Dough
So the next step is to divide the dough into 2 or 3 portions. You need to make those dough pieces as flat as you can—like a disc maybe—and then wrap them tightly in plastic wrap. Because you need to refrigerate it for around 1–2 hours.
If your dough is chilled, the butter starts solidifying evenly, and you can easily roll out the dough portions without sticking to your working base. Refrigerating the dough maintains the intact shapes of the cut dough shapes.
Step 7: Roll the dough out
You can either use a rolling pin guide or roll out the dough by placing it between two sheets of parchment paper to get uniform discs of dough. Each disc should be about ¼ inch thick on a floured surface.
If you see the dough is a little sticky, dust some flour on it lightly.
As you roll out the dough, you can let your oven preheat to a temperature of like 174°C to 175°C. Also, don’t forget to line the baking trays with parchment paper.
Step 8: Cut the shapes from dough sheets
Use tools like a sharp chiffon knife, a pastry cutter, or any house-shaped cookie cutter and cut out the outlines for the building walls, roofing, and other parts of the house.
In order to maintain the shapes accurately, you must transfer the shapes to the baking sheet by first sliding them onto a flat spatula.
If you use house templates, then place the template on top of the dough and trace the edges in the dough with a sharp knife.
Step 9: Bake it in the oven
Each sheet of gingerbread needs to be baked for about 10-15 minutes, or at least until the edges are firm and slightly brown. Large pieces need some more time to be baked.
Be precise about the baking time. If you bake too much, the pieces will be hard, and if they are not baked enough, then the structure won’t be able to hold up.
Step 10: Cool off the freshly baked pieces completely
Cooling the gingerbread house pieces is the most crucial part of the whole journey.
Warm gingerbread pieces are fragile and not yet fit, not making your house foundation.
So after the baking is done, leave the baked gingerbread pieces to cool on the baking tray for about 5 minutes. Then slowly transfer them to the wire racks with a spatula for complete cooling.
Different ways to decorate a Gingerbread House
How to decorate your gingerbread house is totally up to your creative ability. This is where the real fun begins! Here are some useful decoration suggestions.
1. Using traditional candy
- Colorful gumdrops—roof tiles
- Candy cane-frame doorways
- Peppermints– window decor
- M&Ms and jellybeans—add small dots of colour to the roof, walls, or pathways to create that magic look.
- Red or Black licorice strip-window outlining
2. Ways to do Gingerbread House Icing
- If you want to bring the snowy effect to your house, you can take a piping bag with a round tip to small icicles hanging from the roof or snow drifts around the edges.
- For creating the brick or stone patterns, just pipe small dots of icing (or even lines will work) and even it with a spatula.
- If you want to cover the roof with snow, coconut flakes or powdered sugar work best.
3. Creative roof designs to try
- The best way you can create a shingling roof is with frosted mini-wheats or shredded wheat.
- Chocolate bars or chocolate wafers can be lined for the textured roof pattern.
- You can also make a fluffy marshmallow roof with mini or large marshmallows.
4. Chocolate and Candy Bars
- You can use Hershey’s Kisses as mini trees around the house.
- Kit-Kats or Toblerone bars make an excellent wooden doors.
5. Window and door designs
- You can cut graham crackers into small doors and use some icing for the door frame decoration.
- If you have candies like Jolly Ranchers, you can crush and bake them by giving them shapes of coloured window panes. These candies are the perfect replacement for stained glasses.
6. Rustic Look Ideas
You can easily give a rusty look to your gingerbread house with dried cranberries, orange slices, almonds, or pistachios.
With a rusty look, add some herbs like fresh rosemary sprigs to show some evergreen nature.
Well, a rusty house comes with some logs around and window shutters that you can easily get from the cinnamon sticks!
Creativity comes from skills. Even if you want to be innovative with your gingerbread house designs, you need proper skills to paint your imagination into reality.
If you have candies like Jolly Ranchers, you can crush and bake them by giving them shapes of coloured window panes. These candies are the perfect replacement for stained glasses.
Learn to Bake in a professional way
Baking is like a passion burning inside you that takes the shape you give it. A baking career is challenging, but with the right steps, you can always be the 1 success in 100 failures.
If you are a regular home baker, well yeah, you may be experienced and extremely talented in baking, but you don’t have a platform to showcase this talent… except for your friends and family.
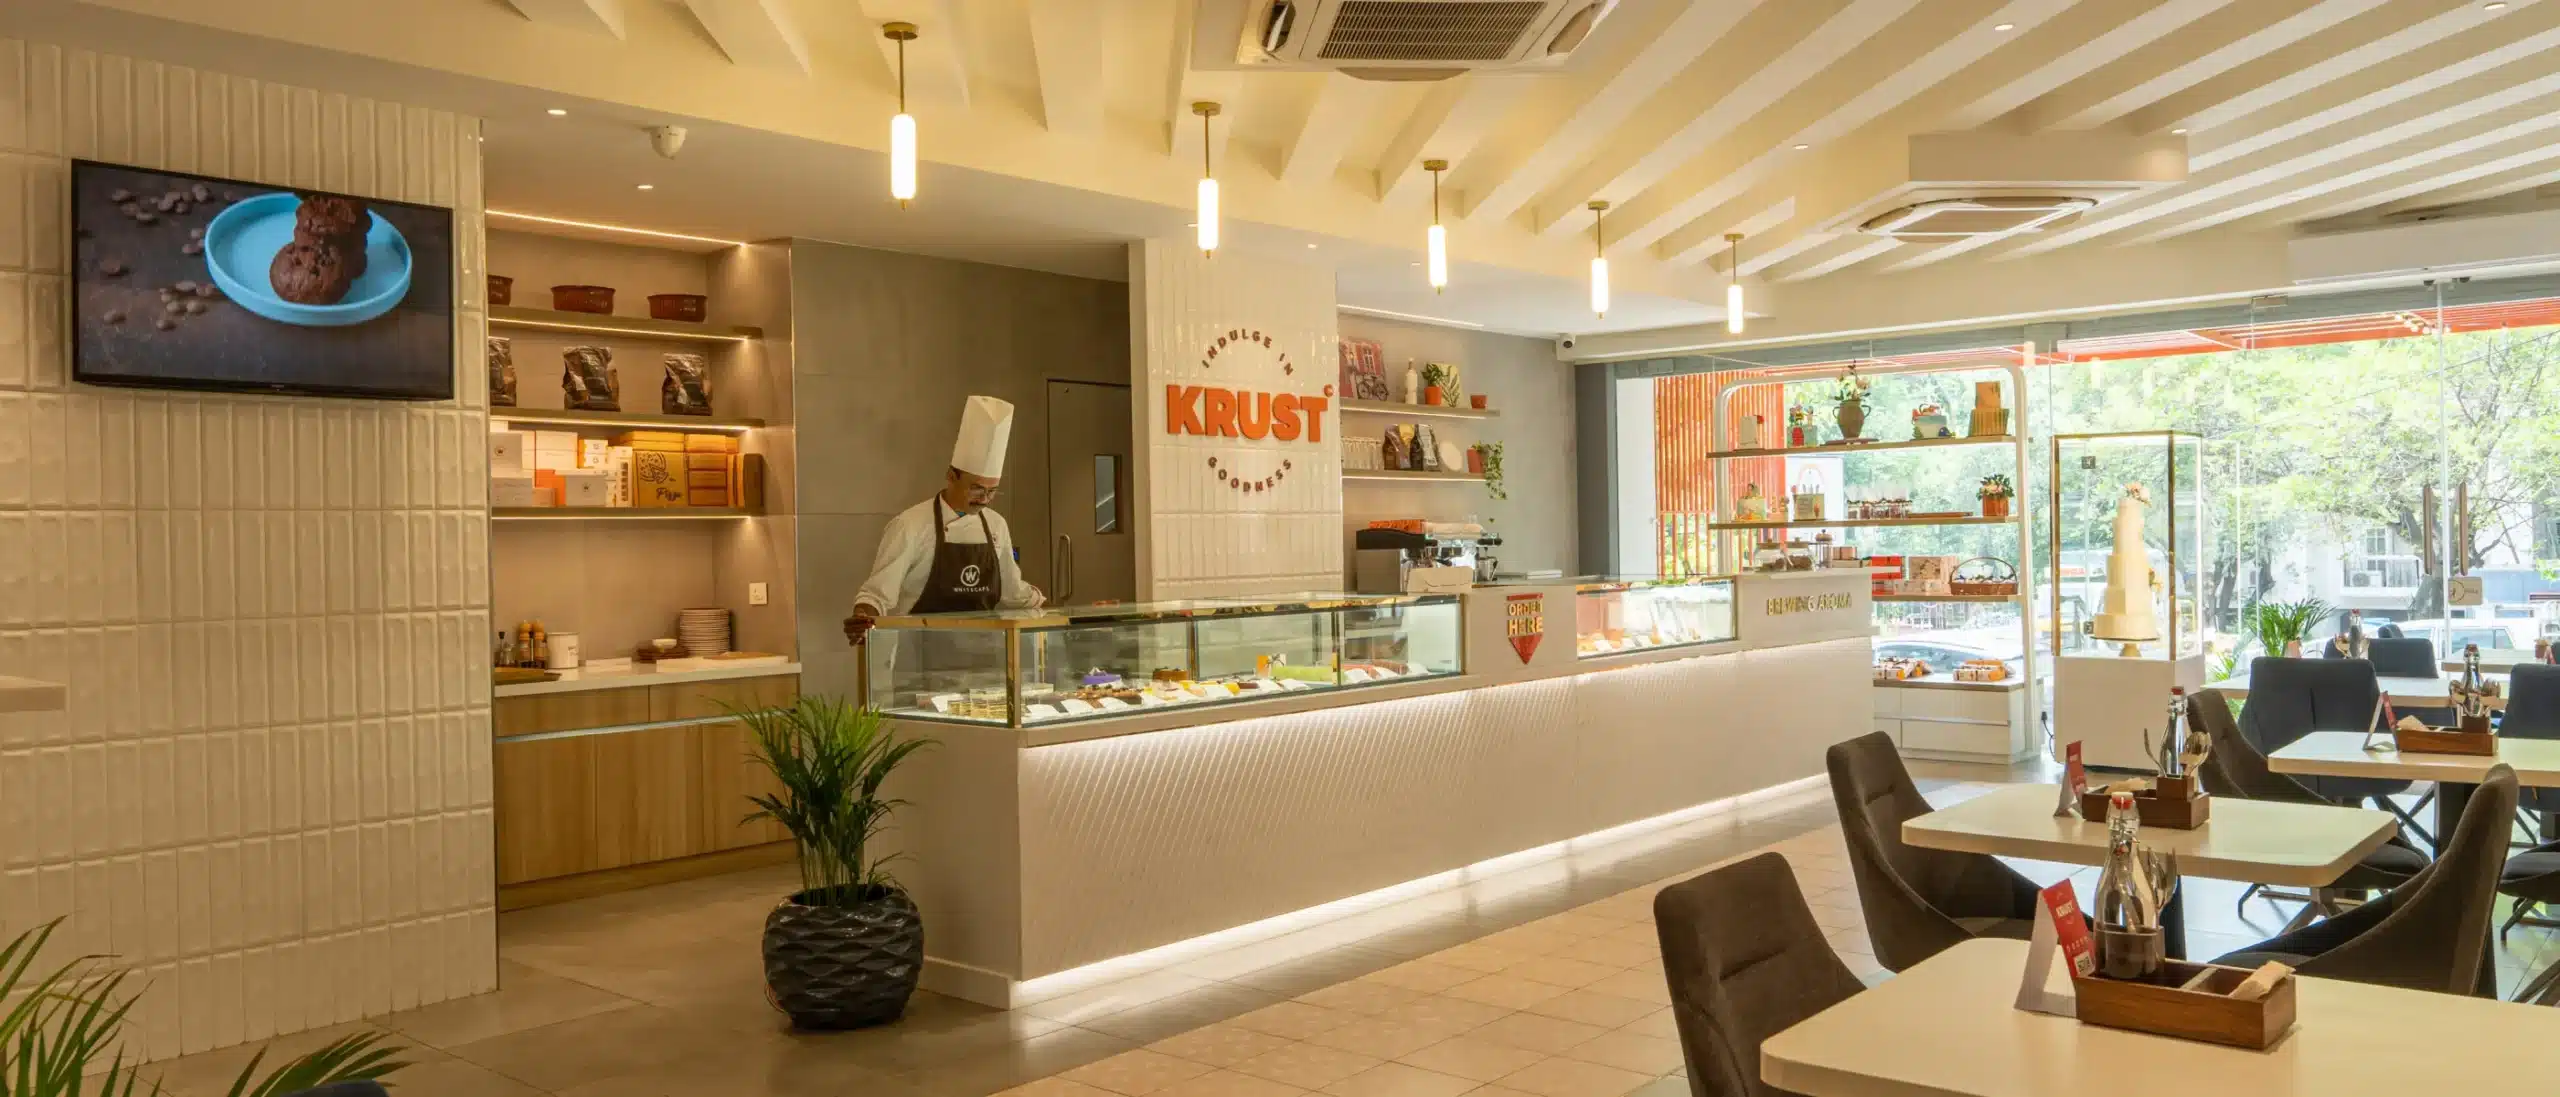
But with us, Whitecaps, you can always reach a new height in your baking career. The life of bakers at this internationally recognized pastry institute is filled with the wonderful aroma of cakes, bread, and, of course, rich experience from expert chefs.
If you don’t know baking but are eager to learn it, this is all we need for the Professional in Baking and Pastry at Whitecaps.
So Merry Christmas and happy baking, everyone!!