Do you like bread? If you do, you must be a fan of sourdough bread! Everyone is! But aren’t you tired of waiting in long lines at bakeries?
Wouldn’t it be amazing if you learnt how to make it yourself? You could literally enjoy it anywhere and anytime you wish!!
Ok. So come, let’s explore the way to make sourdough bread in this blog.
What Is Sourdough Bread?
Sourdough bread is a type of bread made through slow fermentation of wild yeast and lactic acid bacteria present in flour. It is not just any regular bread—it’s a form of ancient baking art that brings together science, patience, and the flavour of baking in one single delicious loaf.
You might have tasted lots and lots of bread made out of normal yeast, but believe me, it’s nothing like a sourdough recipe!
Unlike normal dough, sourdough may take hours or even days to develop. The gradual fermenting deepens the flavours, and complex aromas are created by giving out the signature tangy flavour, chewy texture, and crisp, golden crust.
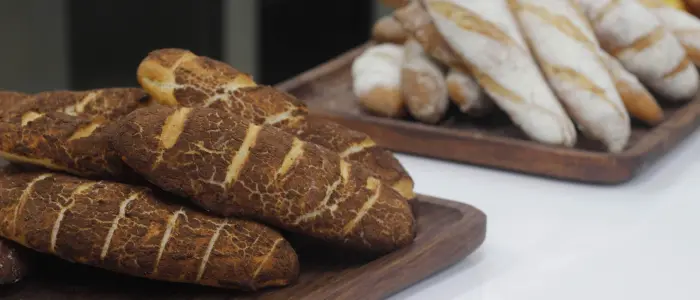
You may be surprised to know that sourdough has its own world of sourdough recipes to be explored, from the classic round boules to artisanal baguettes and pastries.
Beyond the superior taste, sourdough bread also beats other supermarket loaves in health benefits. Did you know that this slow fermentation allows some of the gluten in flour to be broken down and let the nutrients be absorbed? In other words, sourdough bread is easier to digest; so anyone can enjoy a delicacy like artisan bread or Coppia Ferrarese.
Different types of sourdough bread
There are several varieties of sourdough depending on the baking methods, ingredients used, and the traditional regional practices followed to make the bread. Each of these varieties just shows the level of creativity that can be added to a dough.
- San Francisco sourdough bread: San Francisco sourdough is known for its extra tangy flavour and boasts a chewy crumb with a thick, golden crust due to the local wild yeast.
- Borodinsky bread: A Russian-style sourdough made with rye flour, molasses, and coriander, giving it a dark colour and slightly sweet, earthy taste.
- Classic white flour sourdough: A traditional sourdough with a mild tang, soft crumb, and a crisp crust, perfect for everyday slicing and sandwiches.
- No-knead sourdough bread: This easy, hands-off version of sourdough relies on a long fermentation rather than kneading, yielding a soft interior with minimal effort.
- Chocolate sourdough bread: A sweet twist on sourdough, this rich loaf is infused with cocoa and chocolate chunks, balancing subtle sourness with deep chocolate flavour.
- Spelt sourdough bread: Made with ancient spelt grain, this bread has a nutty flavour and is easier to digest, with a denser, hearty texture.
Essential Baking Tools for Sourdough bread at home
As Asians, we have always heard our moms say, “My eyes and instincts are the best measuring tools for cooking ingredients.”
But believe me, in baking, that doesn’t really work.
With a bit of precision in baking ingredients, your baking can taste like bliss rather than some burnt piece of charcoal!
And that’s where the essential baking tools come in handy.
Surely enough, sourdough bread also has its own set of tools, like
- a digital kitchen scale for measuring ingredient ratios (like flour and water),
- a large mixing bowl,
- a dough scraper to fold, divide, or even transfer the sticky dough to a bowl,
- a bench knife,
- a proofing basket to hold the dough during the last rise,
- lame (a bread scoring tool),
- a silicone spatula, a Dutch oven, and
- a thermometer.
A crispy, crusty loaf of sourdough bread always calls for the oven, but if you want to use a microwave for baking, you can.
Just put a bowl of hot water in the microwave with the dough bowl for a humid environment to quicken the fermentation.
Don’t miss out on any of these because you need to eat what you bake!! 😉
Sourdough Starter
Now, to begin with, how to make sourdough bread, you need to know about sourdough starter—the first step of any sourdough recipe.
Sourdough starter is basically a fermented mixture of flour and water that is filled with wild yeast and good bacteria needed to break down the natural sugars in flour. This breakdown produces some gas and acid that keeps your bread bubbly.
But careful! You need to keep feeding the starter with fresh flour and water regularly to keep the culture alive and increase the rising power of your bread.
How to make Sourdough Starter at home?
White bread flour is always the most versatile option for sourdough recipes, but you can also use other types of flour, like wholemeal, rye, or even try out a mixture of white and wholemeal flour.
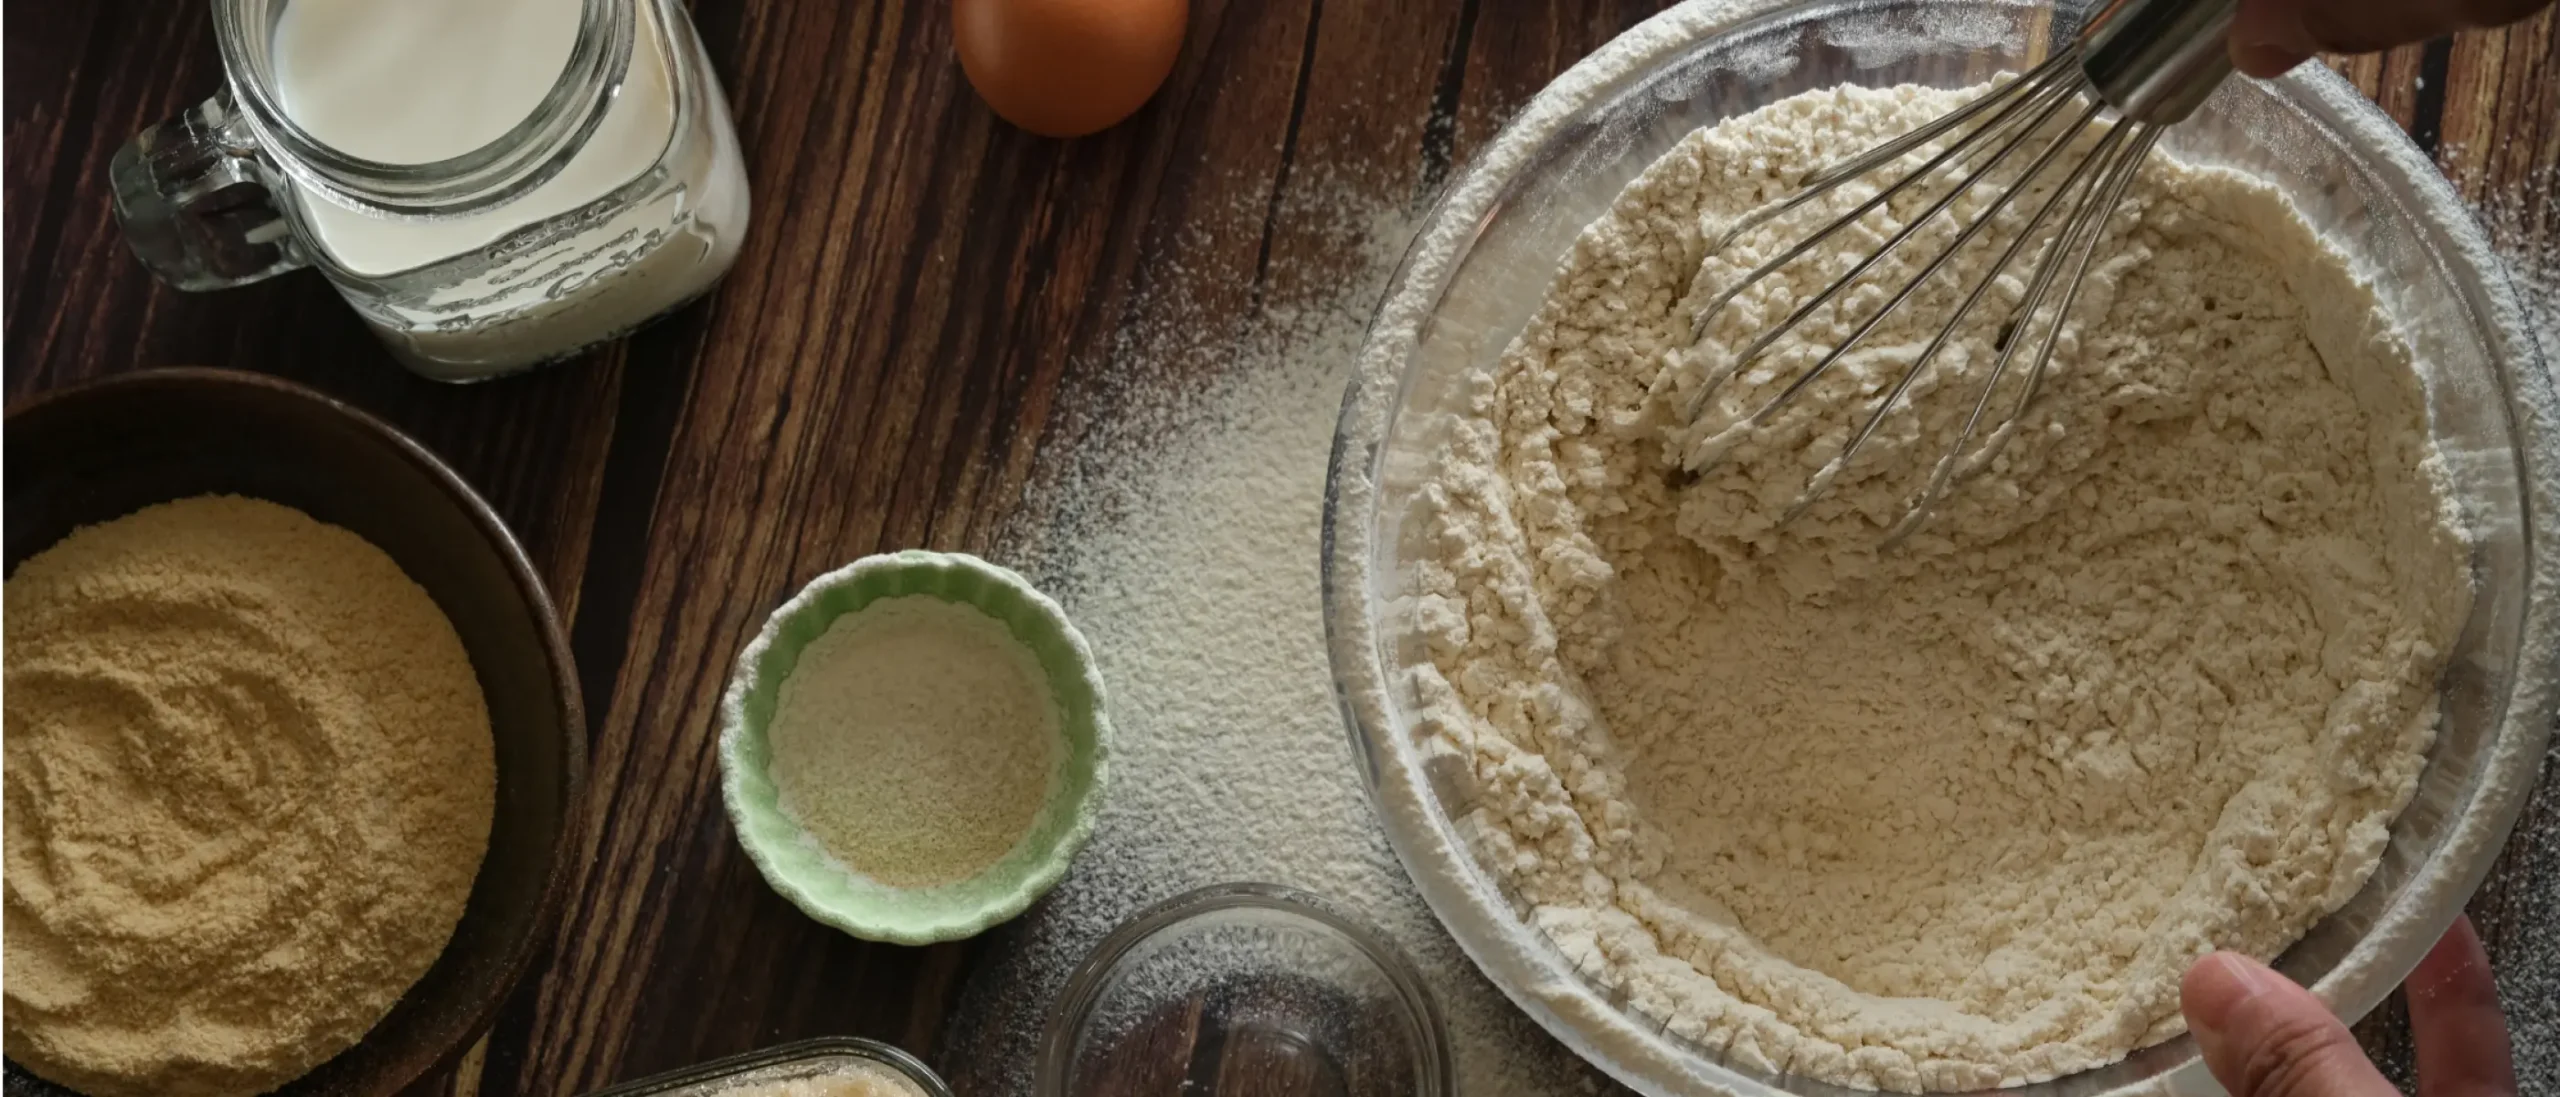
Pour off some of the culture into a large bowl with flour and water (equal measurement) and keep whisking till no lumps stay alive!
After you are done removing lumps, leave it to rest at room temperature or in a warm spot like 24-26º C till it becomes bubbly and active.
If you are becoming impatient after just 3 hours of the process, please be patient!! You can use your starter only when you see it has doubled its size and become more bubbly.
Naturally, it can take like 2 to 12 hours for the starter to be usable, depending on its temperature.
Now if the starter is ready for use, weigh the amount you need for the recipe and pour it into a bowl.
Discarding the rest of the dough left is a common baking mistake, so make sure to feed the rest of the dough with flour and water to use it again.
You may be surprised to know that any leftover portions of dough, if fed regularly, will give you delicious sourdough discard recipes like sourdough scones, sourdough pasta, or sourdough pancakes.
How to Make Sourdough Bread: A detailed guide
Sourdough bread baking is an extensive process, so follow all steps carefully and you’ll get the perfect sourdough loaf in no time.
Step 1: Prepare the Sourdough starter
Your ingredients are flour and water. After resting for 24 hours, from day 2nd to 6th, you have to discard half of the starter and add fresh flour and water.
Sourdough starter: water: flour = 1:2:2.
You must stir the starter properly with a wooden spatula to keep it clean and sterilized. Then cover it loose and let it rest for a day or two.
By Day 5 or 6, the starter will be bubbly, with a pleasant tangy aroma, and ready to use in bread.
Step 2: Get all the ingredients for Sourdough Bread
- Flour -500 grams (can be bread flour or mix or bread and wholewheat)
- Normal water-350 grams
- Active sourdough starter – 100 grams
- Salt- 10 grams
Step 3: Mix the dough
Mix 500g of flour with 250g of water in a large bowl till no dry bit remains. This step, known as autolyse, hydrates the flour to start gluten development.
Cover the dough bowl with a plastic wrap or damp kitchen towel and let it rest for 1 hour.
Step 4: Add the starter and salt
Now add 150 g of active starter, 25 g of oil ( best if olive), and sprinkle 10 g of sea salt in the dough. Gently squish the dough and keep folding it till it is good to go.
You can also combine steps 3 and 4 by adding all the ingredients together after squishing. You just need to leave the dough for the autolyse process for like 30 minutes to 1 hour.
Now that the dough has rested, return it to the bowl and give it a ball shape.
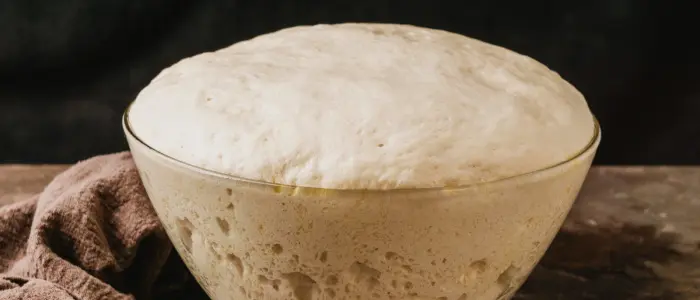
Step 5: Bulk Rise and Stretch & Fold
This step is called “bulk rise” or “bulk fermentation.” Cover the dough bowl with lightly oiled wrap and let it rise for 3-4 hours.
During this time, you need to repeat the stretch & fold technique for the first 2 hours at an interval of 30 minutes.
Stretch & fold technique: Wet your hands, lift one side of the dough, stretch it upwards, and fold it over. You also rotate the dough again to 90 degrees and repeat the same process on all four sides. This strengthens the dough without kneading.
Step 6: Shape your Dough
Now this is the easiest part. Smear some flour over your work surface and bring the dough out of the bowl.
Here you need a bench scraper to fold the dough into a loose round. Then cover it, and let it rest again for 15–20 minutes.
Lastly, you need to gently knead the dough into a round or oval shape and make the dough tight.
Step 7: Proofing or Second Rise
You don’t want a pan-stuck bake, do you? So just dust the proofing basket, or you can even line a bowl for dough-bake with flour.
Now place the shaped dough inside with the seam side up in the basket.
Cover it with a muslin cloth or plastic wrap, then let it rise in the fridge overnight (12–24 hours) for a slower, more flavourful proofing.
Step 8: Preheat your Dutch Oven
Place your Dutch oven with its lid inside your oven and preheat to 500°F (260°C) for at least 30 minutes.
This will create the perfect steamy environment for a crispy crust.
Step 9: Scoring the bread
Be careful in this step!! Gently transfer the dough onto a piece of parchment paper.
Use a bread lame or sharp knife to make a shallow cut on the surface. This will help control the direction of the rise of bread.
Step 10: Baking the bread
Keep the dough, with parchment paper beneath, inside the preheated Dutch oven and keep it in the oven.
Cover with the oven lid and bake for straight 20 minutes without any interruption.
Then, remove the lid, reduce the oven temperature to 450°F (230°C), and bake for another 20–25 minutes until the crust is deeply golden.
Step 11: Cooling on the racks
Now this is the last step, so don’t be impatient and cut the bread just yet. It will leave you with a gummy texture after all the waiting!
So cool off the bread completely on the wire rack for at least 1 hour till the crumbs settle.
And Mamma Mia! Your sourdough bread is done.
Now the only thing left to do is break a bite off it and savour the delicate taste…..it’s heaven…..!
Taste these Sourdough bread Recipes at home
If you learn to make sourdough bread at home, it is quintessential to know some recipes for sourdough bread. These are very easy and healthy recipes that can be enjoyed as dinner or lunch by your whole family.
- Sourdough avocado toast
- Rosemary or garlic focaccia
- Healthy Sourdough pizza
- Matcha Sourdough Bread
- Sourdough pockets
- Ciabatta
- Baguette
These are some of the delicious sourdough recipes taught at the diploma baking course of Whitecaps.
An interesting fact is you can also try venturing into your own bakery business by experimenting with different fusions. People love trying these dishes!!
So what if you don’t know baking?
Learning to bake extraordinary is not necessary for a good life. But being able to enjoy your favourite bakes without having to buy them is something different. We all know that as Asians.
Despite the challenges of a baking career, you can always keep a way out for your career, right? In learning to bake, YouTube channels or Instagram feeds can’t help much because they focus on the art and don’t explain the science of baking.
But professional baking classes in Bangalore are different! Did you ever hear of Whitecaps? Especially the Excellence Diploma baking program.
We are a renowned Pastry institute where the world-famous sourdough master, Beesham Soogrim himself, demonstrated a masterclass on artisan sourdough bread.
We have excellent faculties and infrastructure to turn you from a novice baker to a baking master. So if you want to learn baking, join now.